


Another day, another repair job to take care of...
Intake Information
- Case #56974
- Keyboard: Drop Alt
- Symptoms: 2 keys not working "Y" and "U"
- Service Level: 0
Based on the info that came in, it seemed like it was probably going to be something like the two hotswap sockets coming loose. Let's find out...
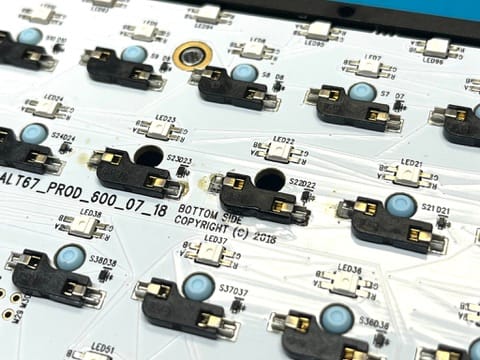
Unboxing and disassembly

Out of the box, the Y and U switches and keycaps had already been removed from the keyboard. I took a pair of tweezers and stuck into the hotswap socket pins for testing, and initially, the U registered and not the Y. But after a couple more attempts, the U stopped working.
Disassembly of the case was very easy, just 8 screws on the bottom to undo, and that was it.
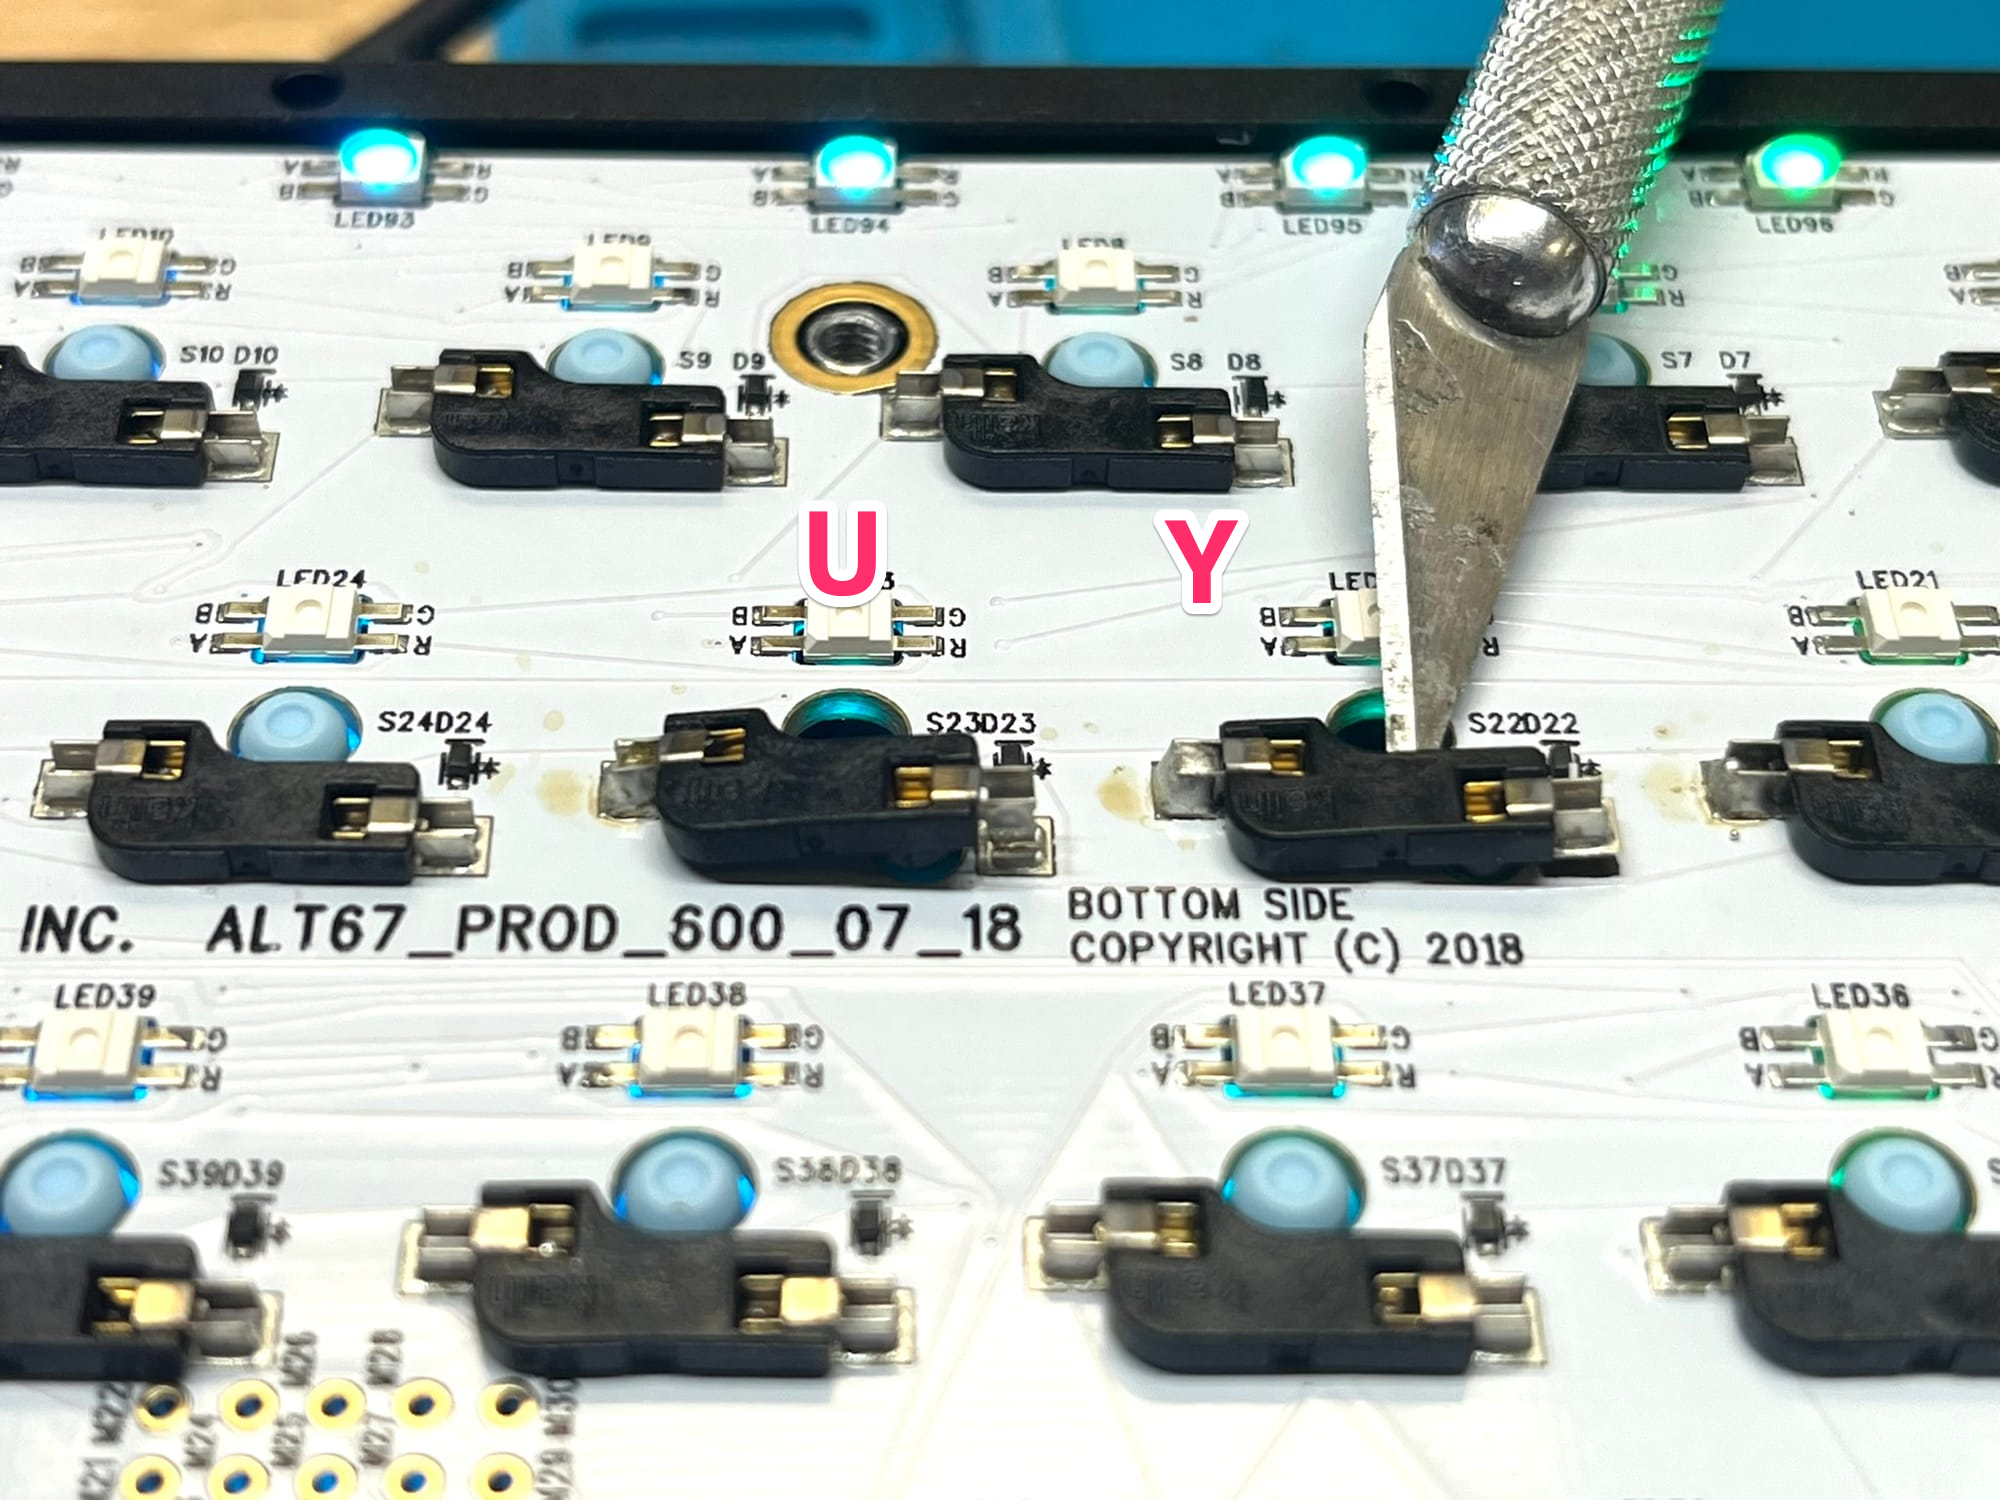
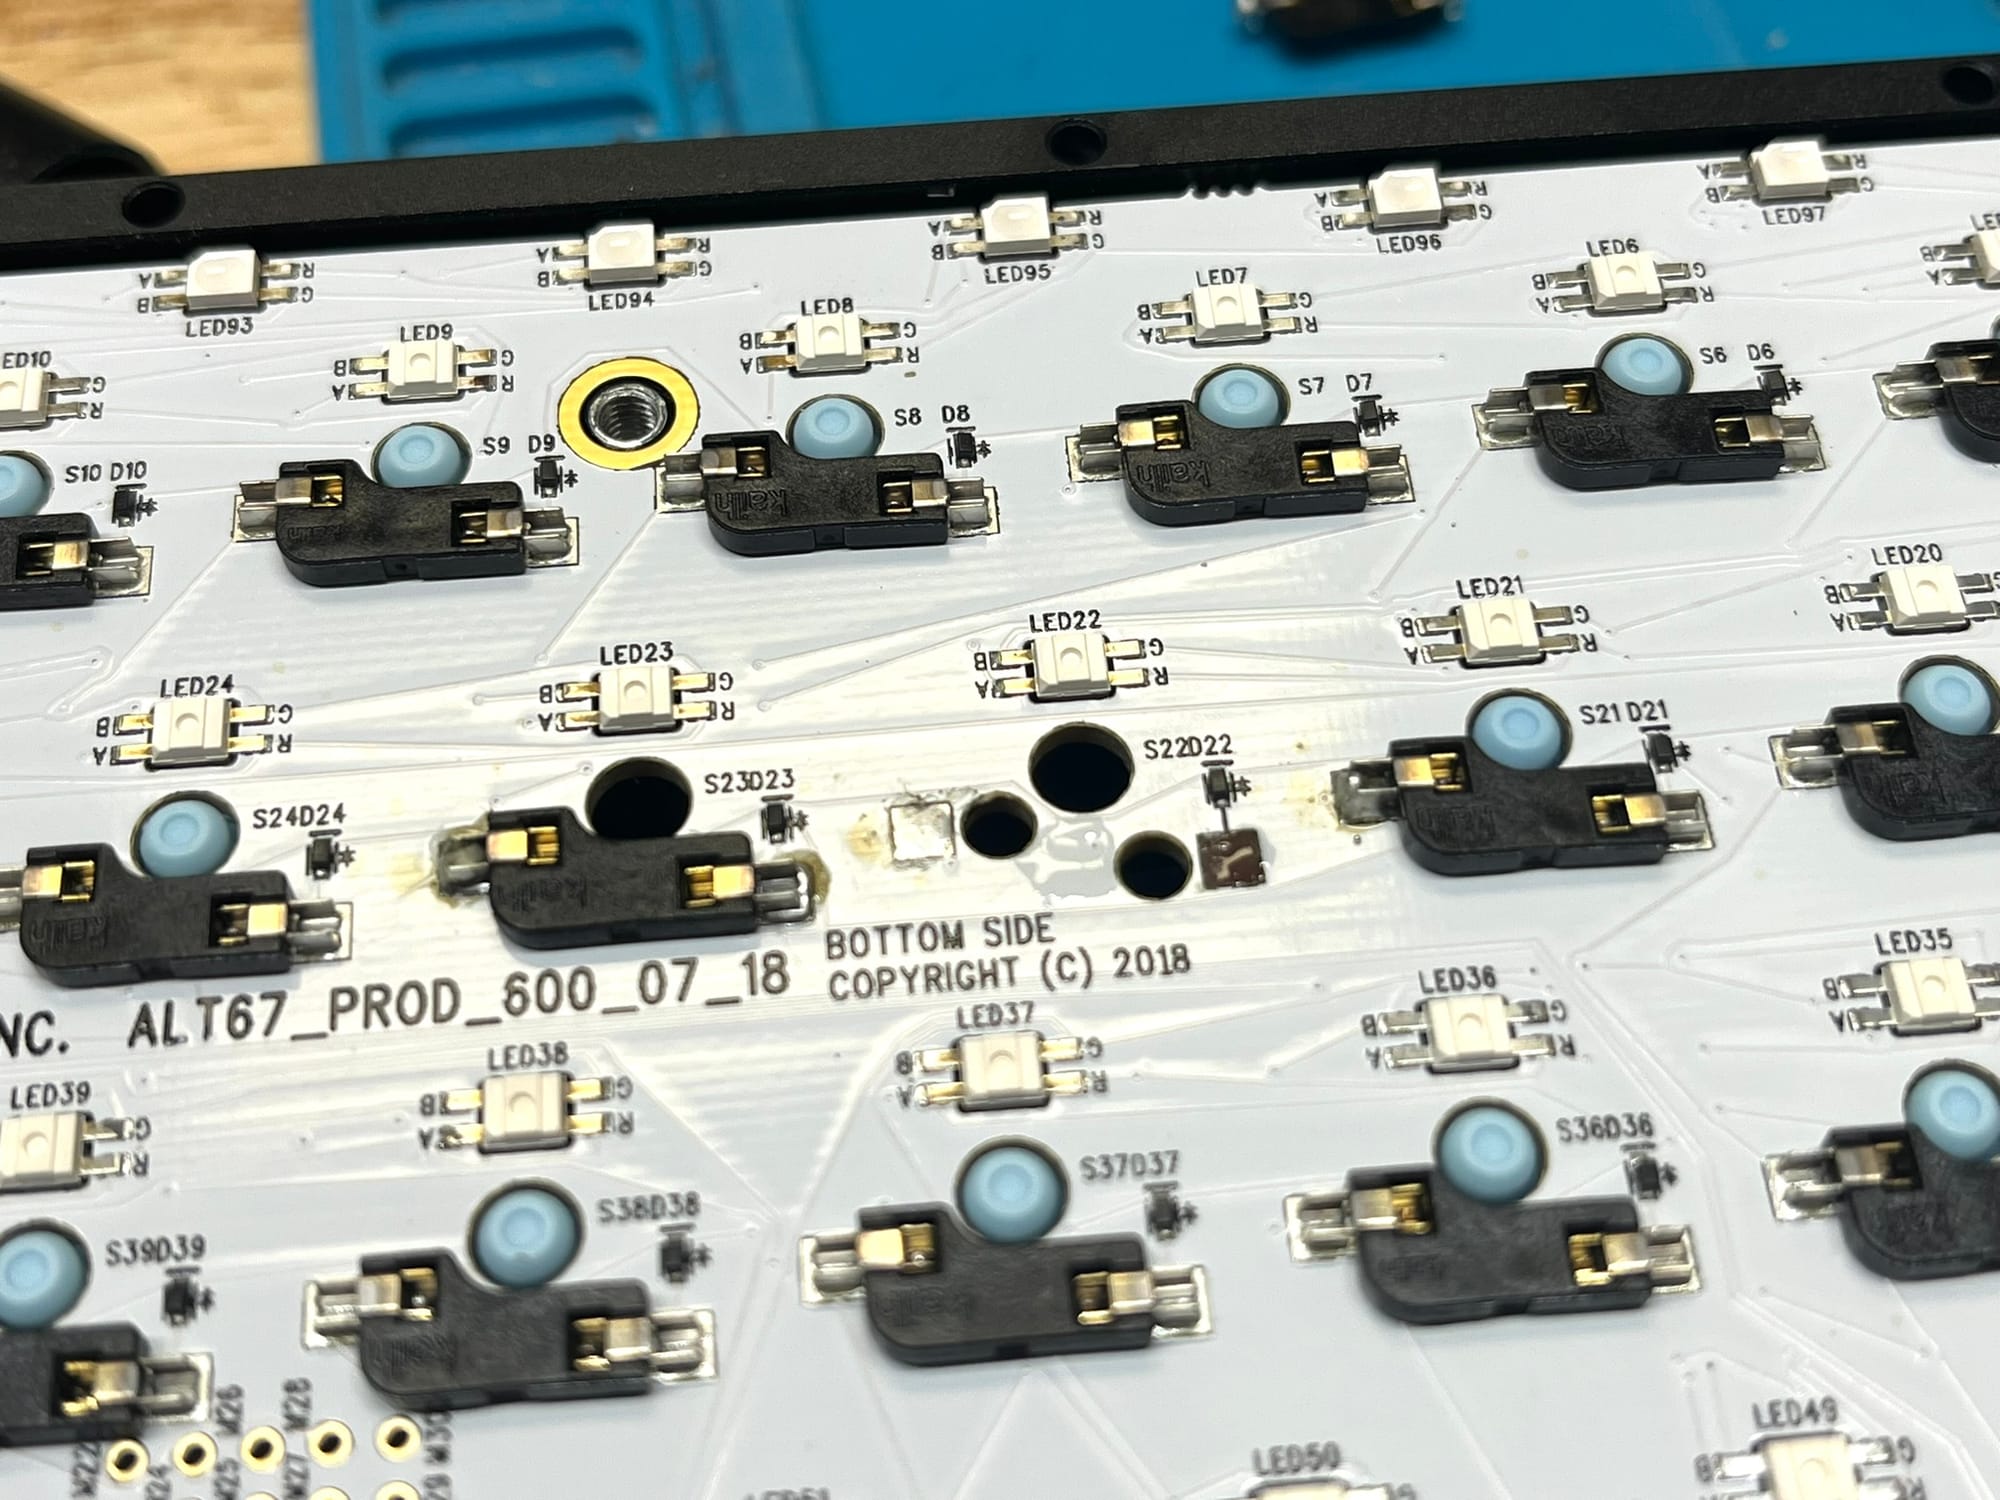
Once I got to the PCB, it was fairly easy to see the problem. One of the socket legs of the U key was not soldered on fully. For the Y key, one leg/pad had been ripped off of the board.
Fixing the PCB
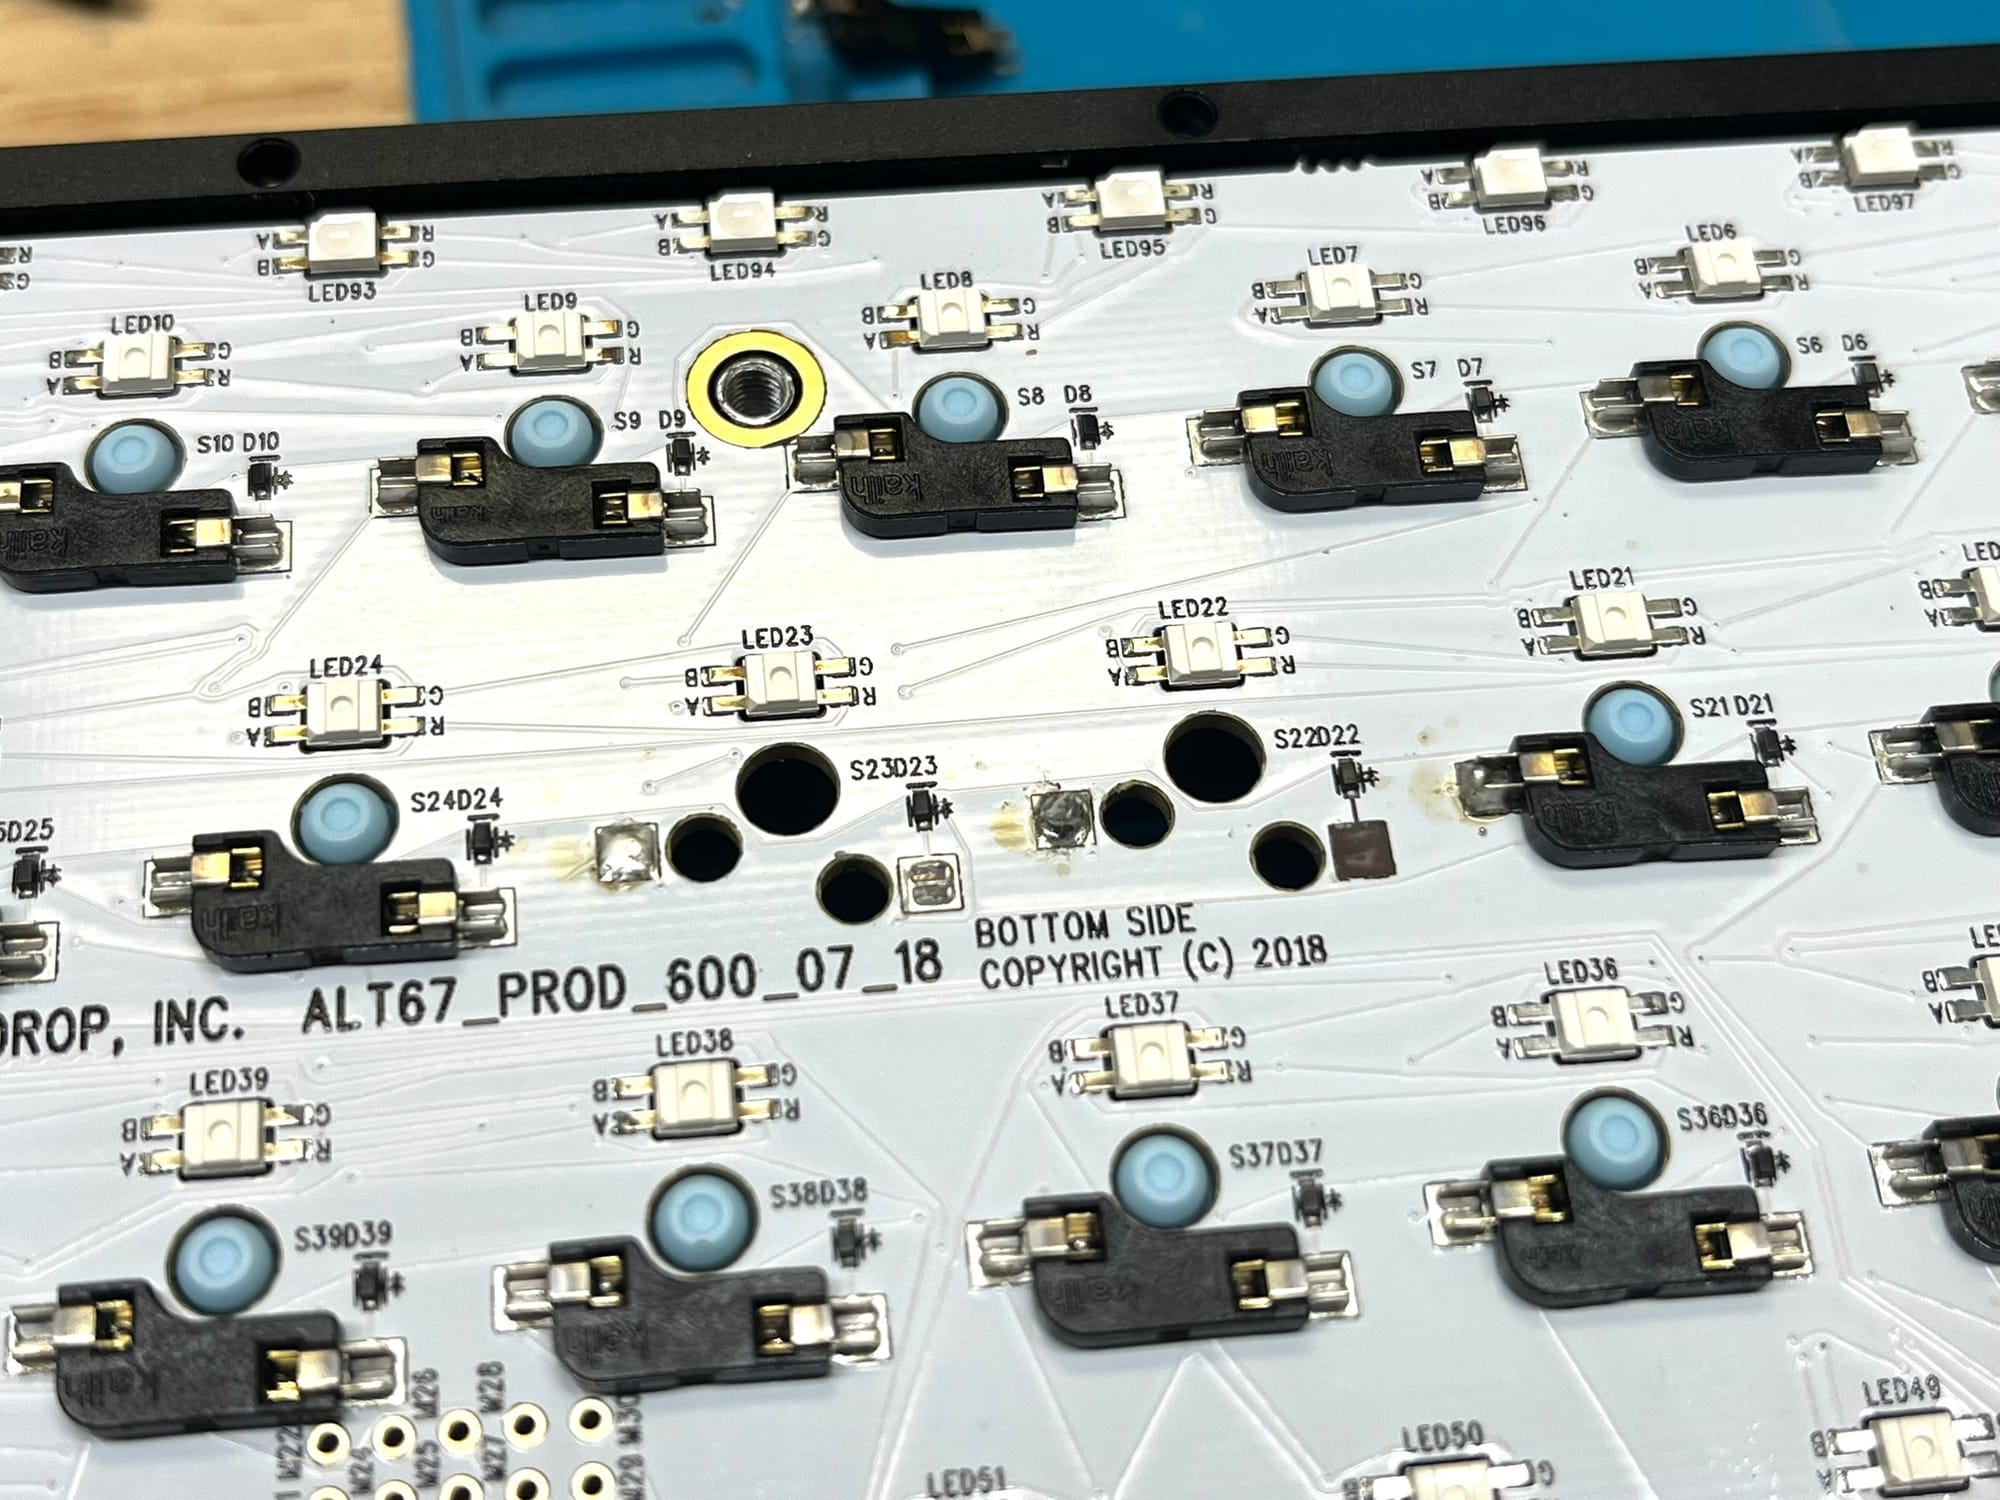
The first thing I did was desolder the sockets from the board, so could be replaced with new ones, in case they had been damaged from too much testing/insertions.

Next, I soldered on the socket for the U key.
The Y key, however, would need additional work.
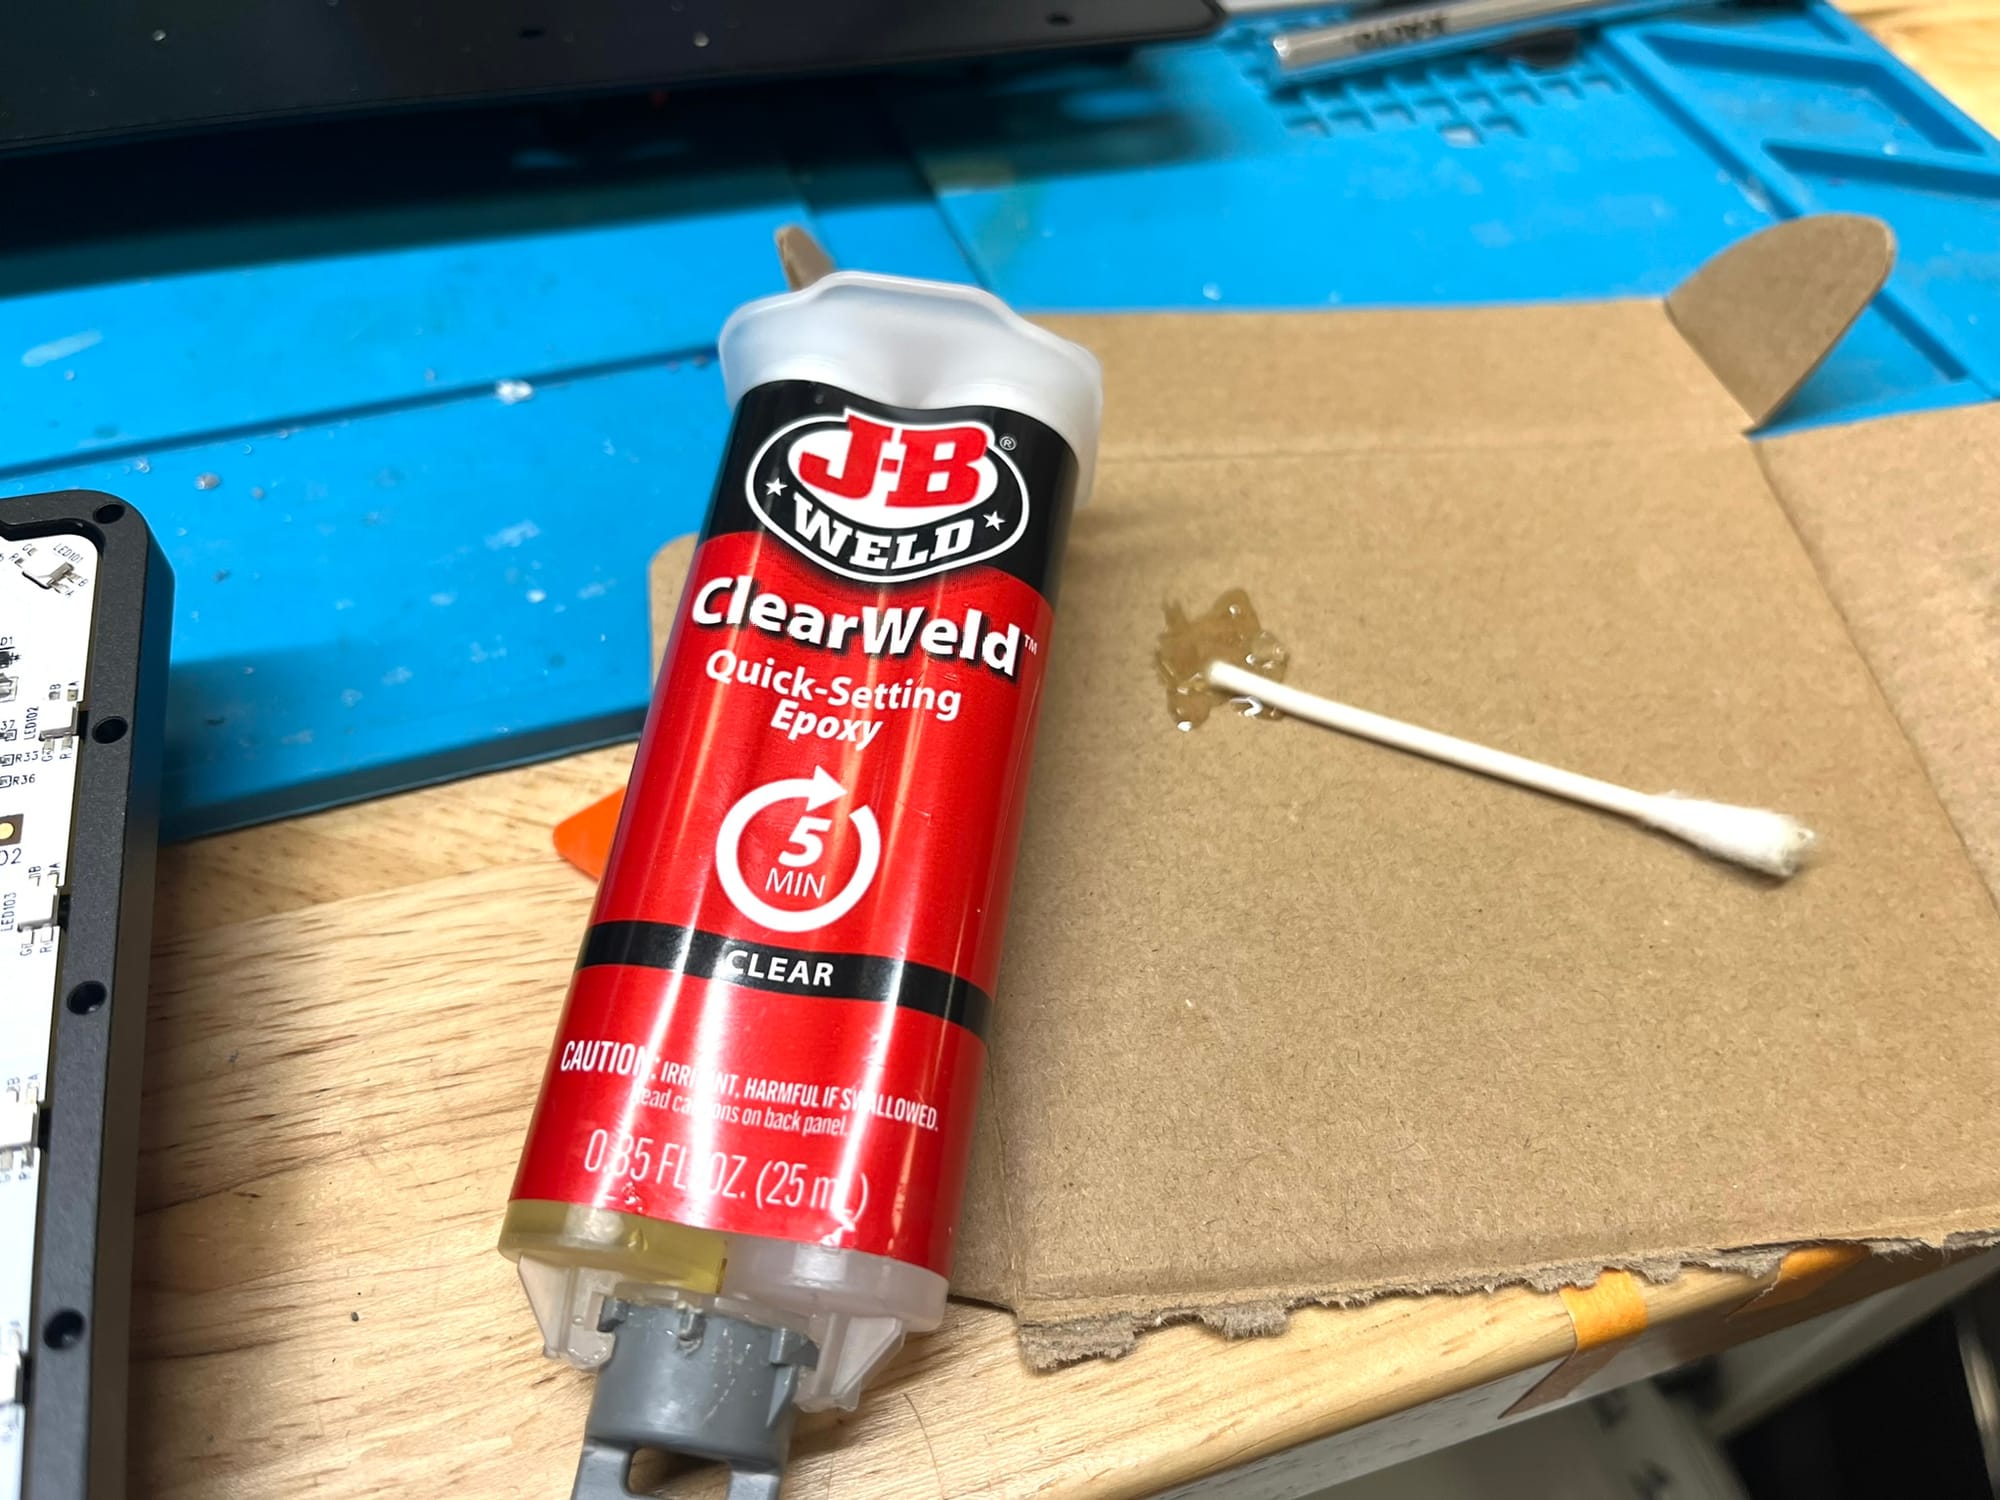
Time to get the epoxy out to adhere the socket to the board, since there was only one of the two pads left on the PCB.
I dabbed a bit between the two holes on the PCB and placed the socket on top of that.
I added a bit of epoxy to the side of the socket as well.
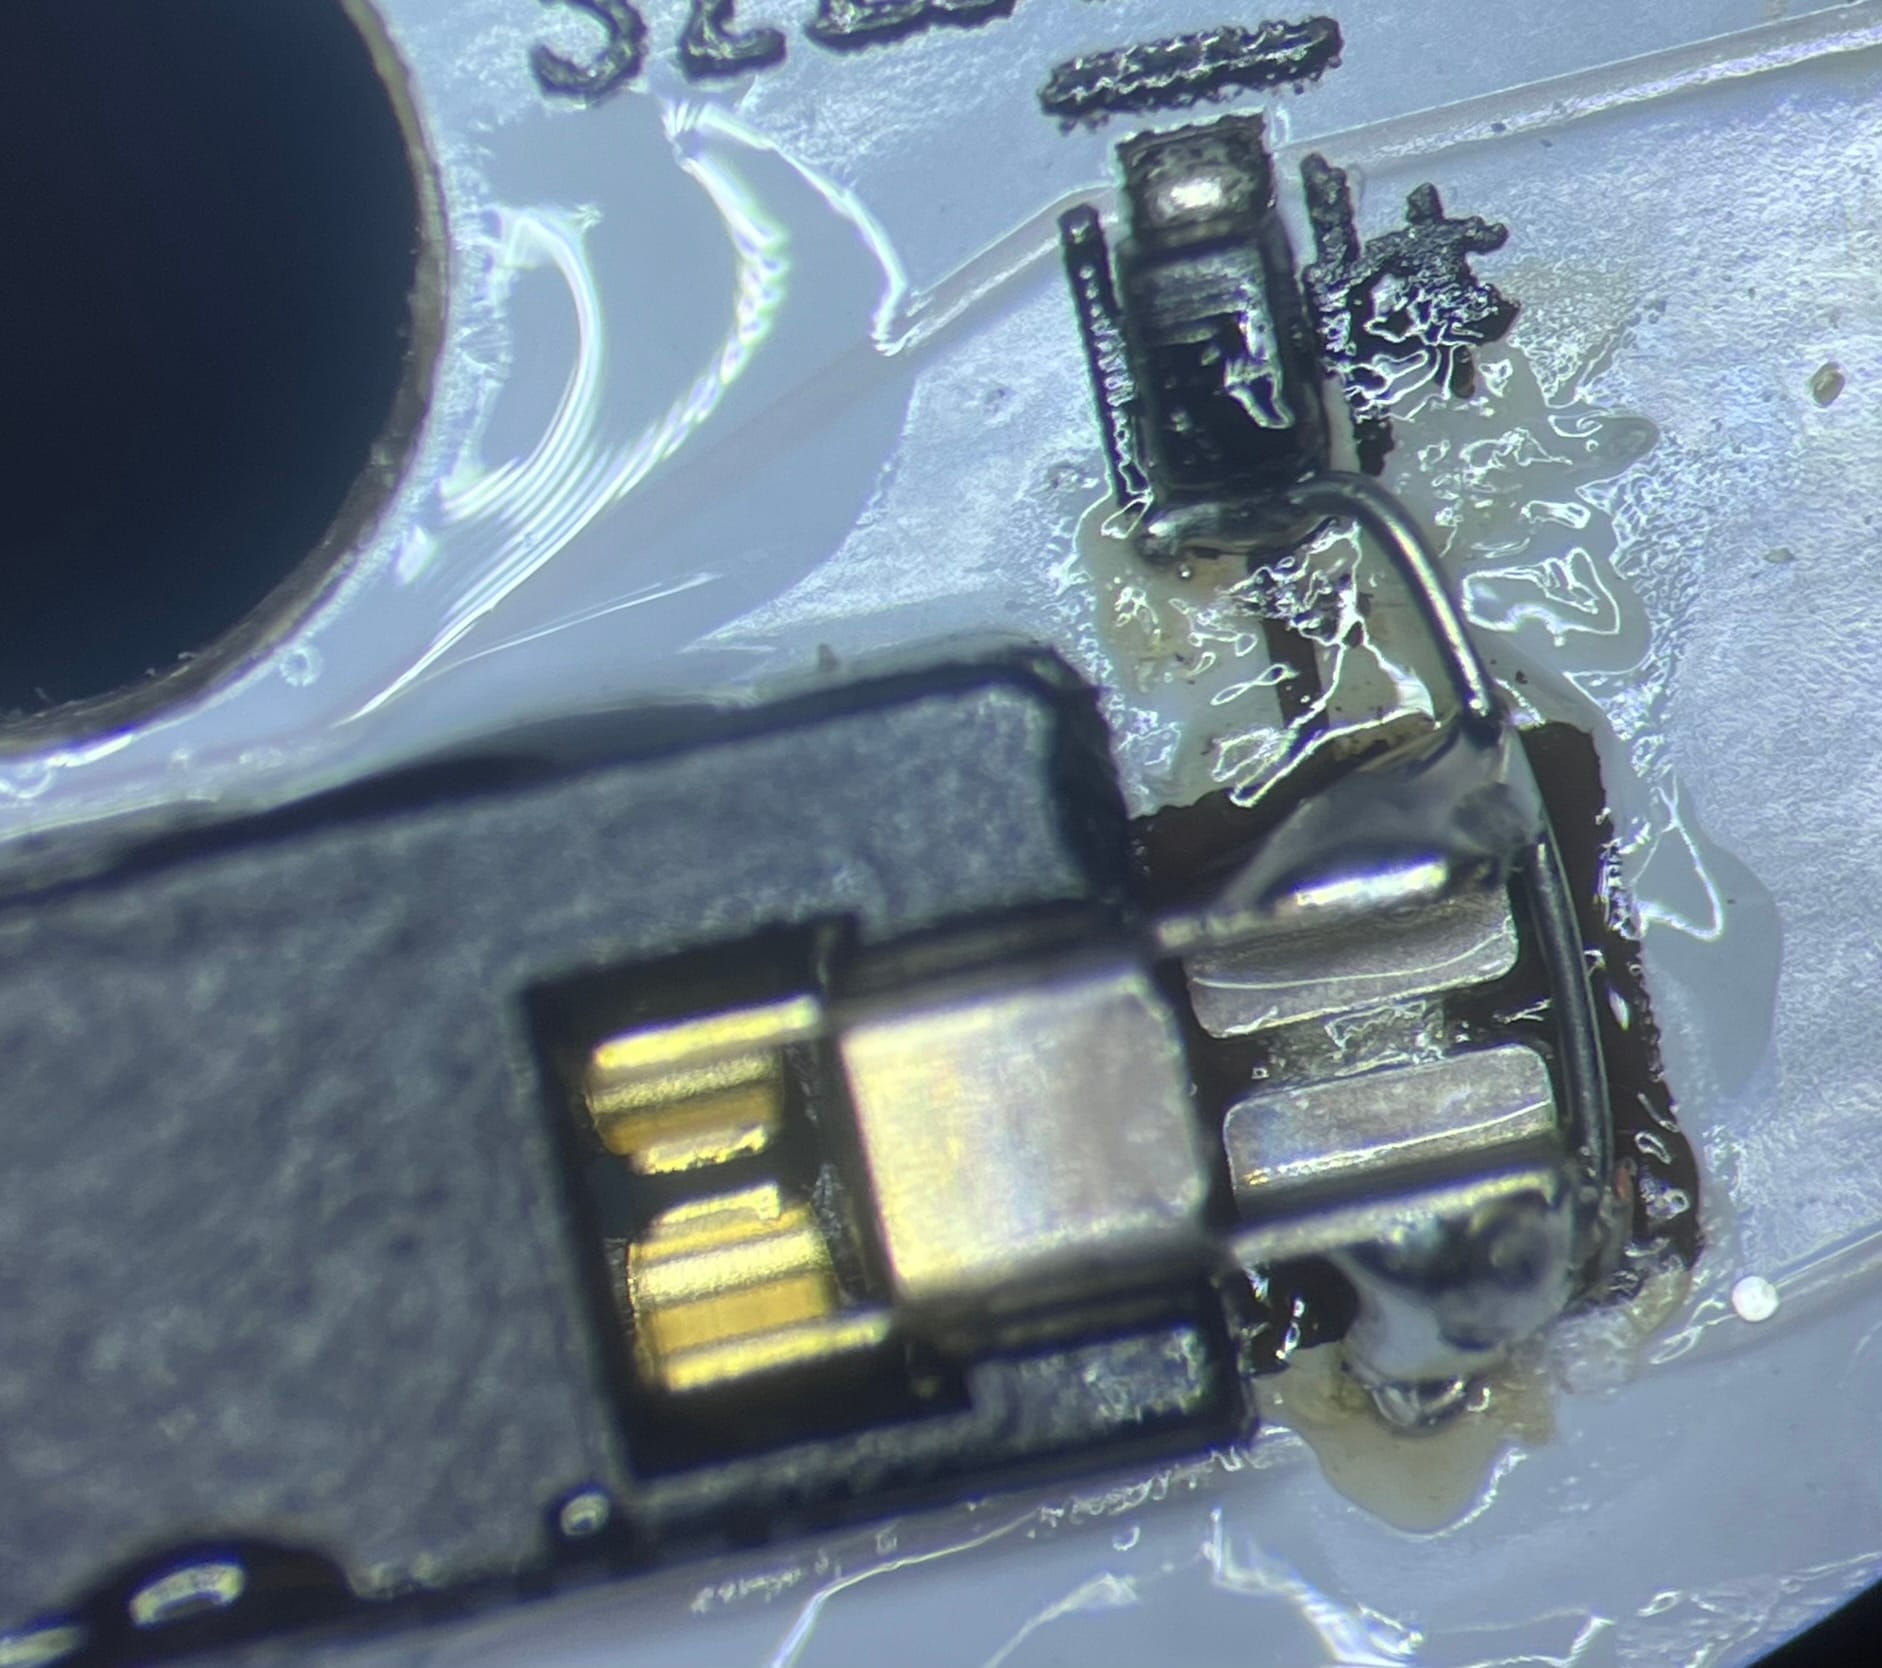
The last step was to restore the connection between the socket and its diode, since the pad had been ripped off. I took a length of 30 AWG wire, stripped the end of it, and soldered one end to the diode. Then I bent it around the socket leg and soldered that.
Reassembly and Testing

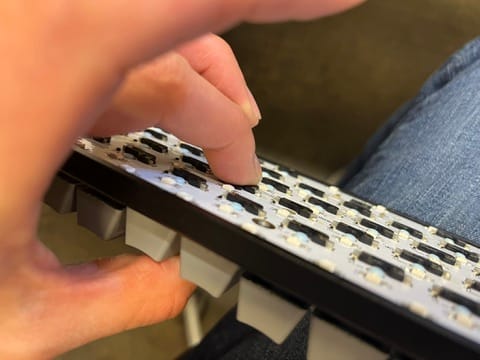
Reinserting the switches
After waiting for the epoxy to dry a bit, I reinserted the switches, while making sure to support the bottom of the socket while doing so, to prevent the socket from getting ripped off again.
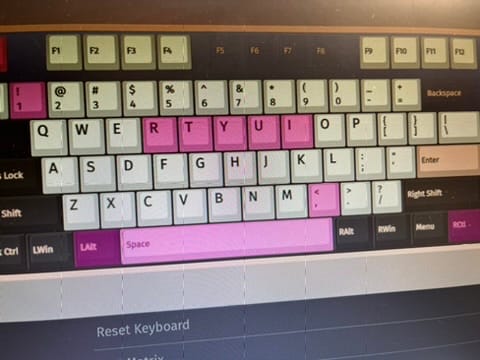
Last thing to do was fire up a keytester and check that the two keys were working again.
Fairly simple fix overall.
If you like reading about more repairs, check out my other repair posts.


Member discussion