


It’s been a while since I last posted something, although I’ve got a lot of ideas and thoughts in my head. I’ve got 8–9 draft posts on various keyboard-related topics that one day will all get finished. But in the meantime, here’s a bit more detail on various projects in the works that expands on the info provided on my status board.
Plate Material Changes
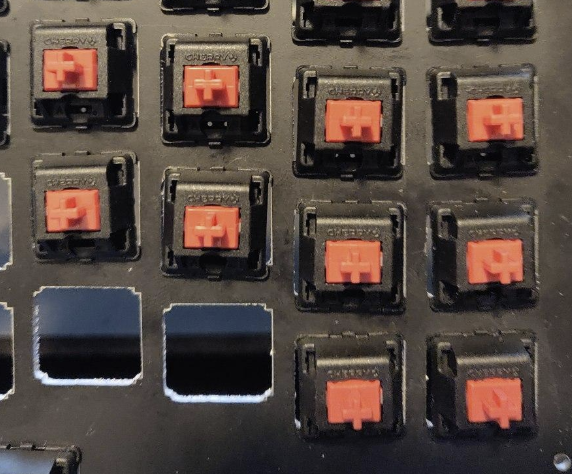
I’m ditching the black aluminum PCB plates. While I like the sturdiness of them and their weight, they’ve been giving me a lot of trouble lately for a couple of different reasons. First, the surface of the plates have been getting these weird stain/watermark-like marks on them that just don’t look good.
The other issue is that the corners of the switch cutouts are rounded (due to the milling process), which has caused issues with switches being skewed. This can be resolved in a couple of ways, like removing Alps compatibility or compensating for the rounded corner, but given the first issue mentioned with the marks on the plates, aluminum will be going away.
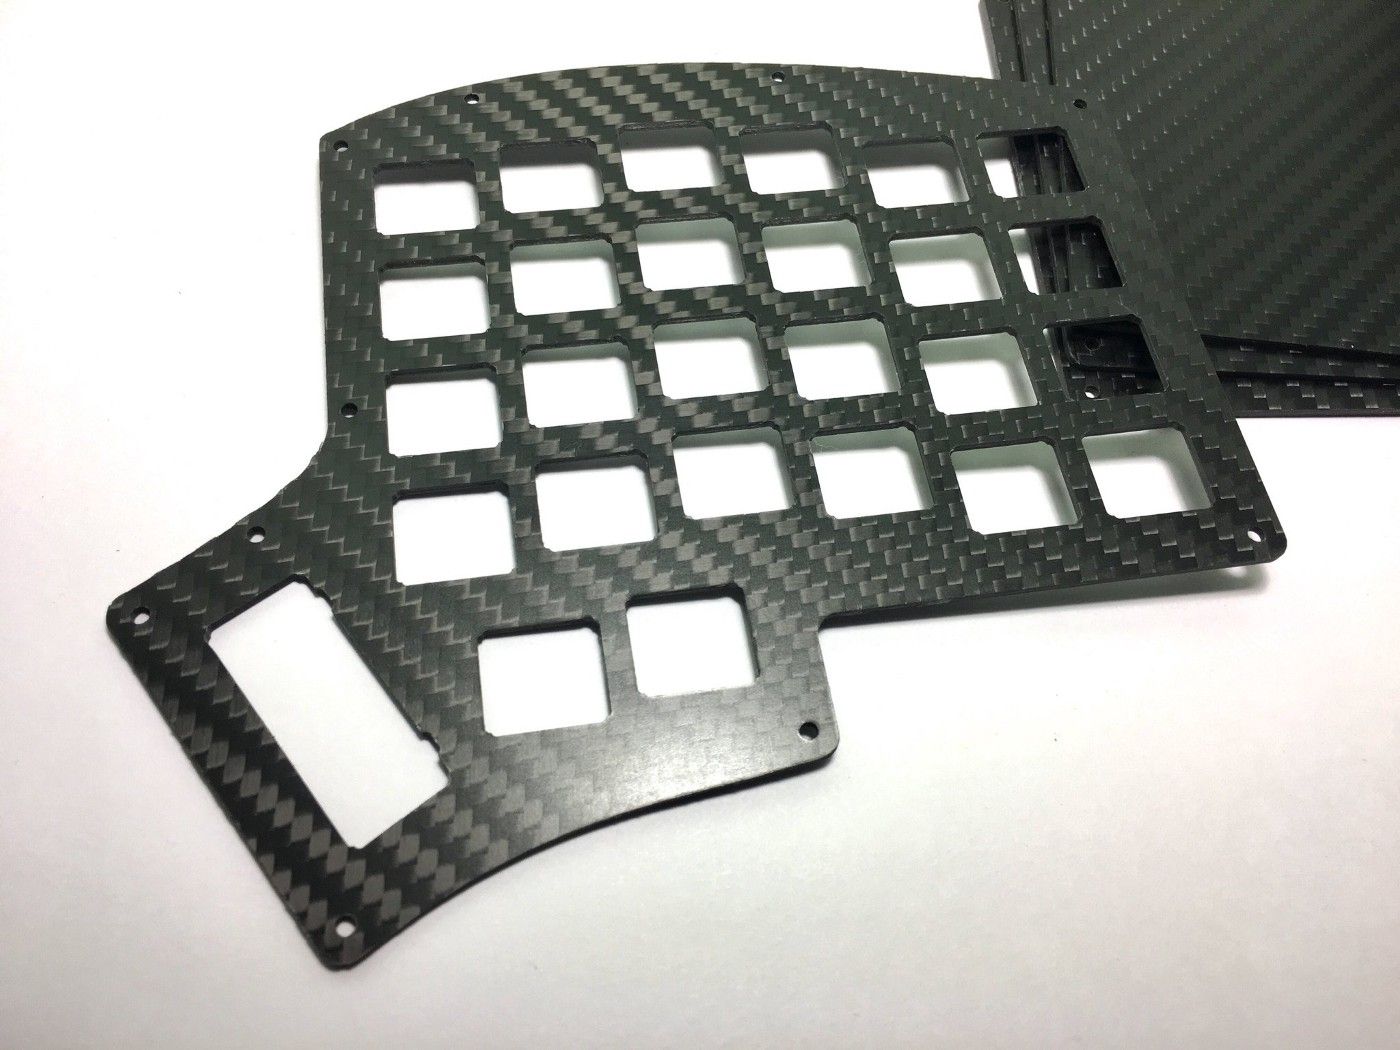
So what’s going to take its place? I’ve got a few different options at my disposal, including FR4, acrylic, carbon fiber, and stainless steel. Most likely, I’ll be going with FR4 and stainless steel, and maybe acrylic as well. After testing various suppliers of stainless steel plates, I’ve settled on one that has good prices, good quality, and is responsive. The local place I used to use did great work at an awesome price, but communication with them was not so hot.
I did experiment with doing Iris plates in carbon fiber, but the costs were similar to stainless steel, so I don’t plan on doing more of those plate moving forward.
Iris Rev. 4 & 5 (formerly 3.1 and 4)
Originally, the Iris Rev. 3.1 was supposed to be an incremental improvement over the Iris Rev. 3, and Kailh Choc support would be added. But during the design process of the Rev. 3.1, I decided to relocate the rotary encoder option to the upper thumb position on both halves (instead of 1 encoder total, just on the left half) and change the microcontroller pinouts. So 3.1 became 4, and the old 4 had to become 5. (Rev. 5 is slated to have MX hotswap sockets and per-key RGB).
The Iris Rev. 4 design has just been completed, and production will begin shortly. ETA on availability is around mid-October. Rev. 4 PCBs are fully compatible with Rev. 3 case parts.
Currently, there’s no estimate on when design work for Iris Rev. 5 will begin, as there are other projects to complete first.
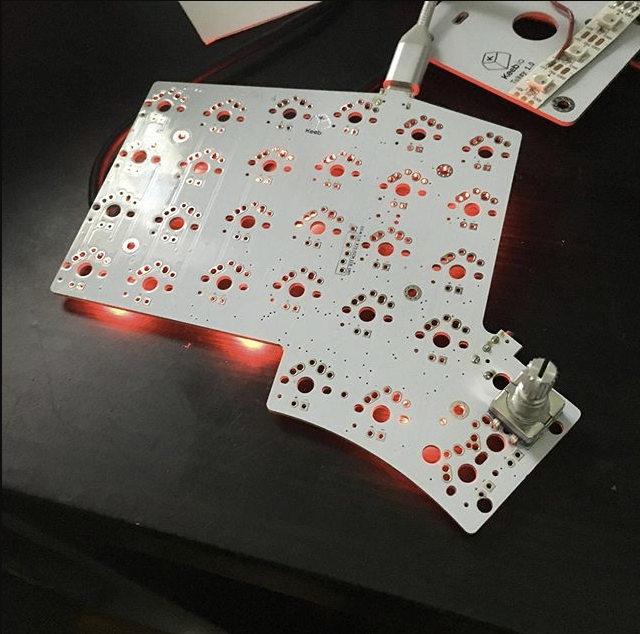
Quefrency Rev. 2
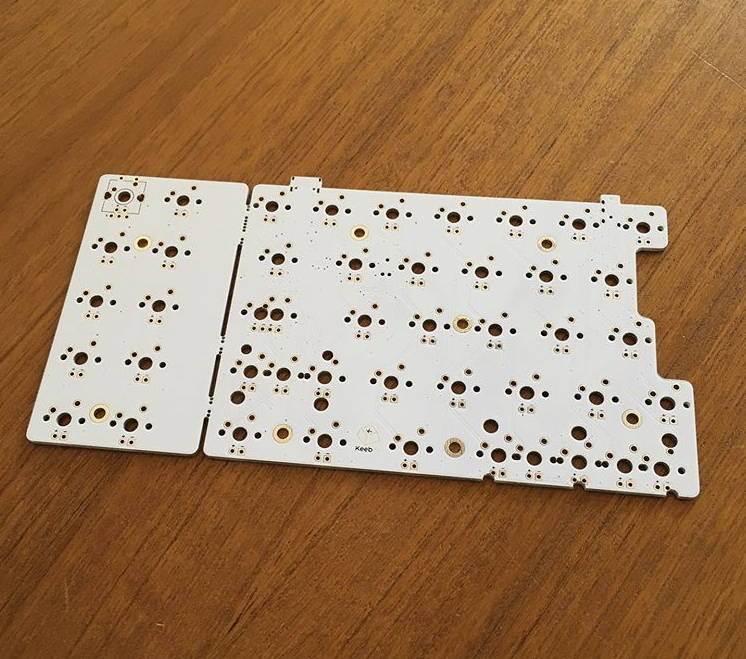
This is the current project I’ve been working on the most. The Quefrency Rev. 2 will sport an on-board controller and will have additional layout options, including ISO support. Full features list:
- STM32F072 controller
- RGB underglow LEDs
- In-switch LED support (single-color, not individually controlled except for Caps Lock)
- ISO support (split left shift, ISO enter)
- Rotary encoder option at top left (only for 2x5 macro portion) and top right (only for 65% option)
- 2x5 macro portion of left PCB can be broken off.
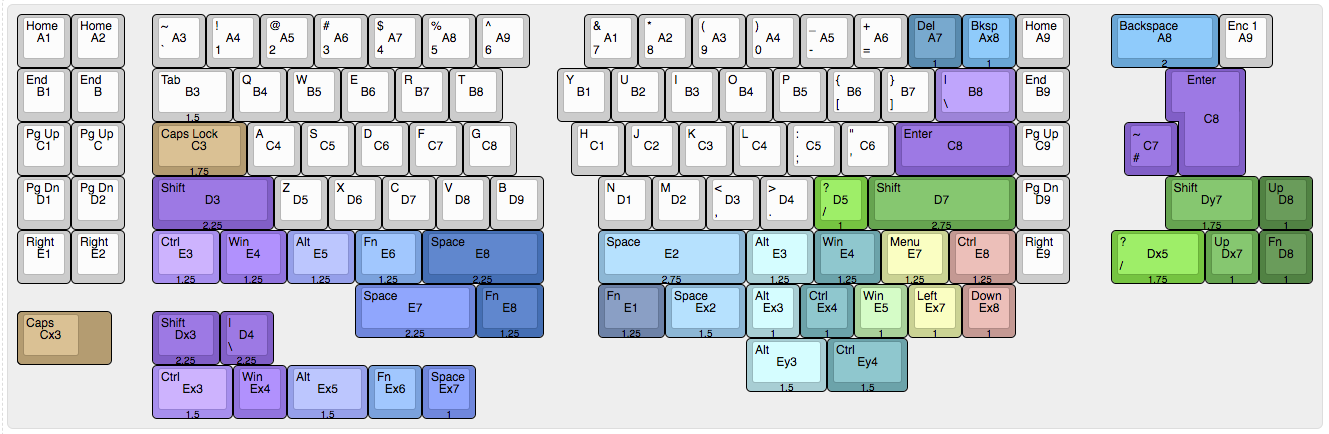
KLE for layout options: http://www.keyboard-layout-editor.com/#/gists/8bcdc40ffeae6a050a385e37f04cbcdb
Right now, I have prototype PCBs in, but I still need to debug them and write firmware for them.
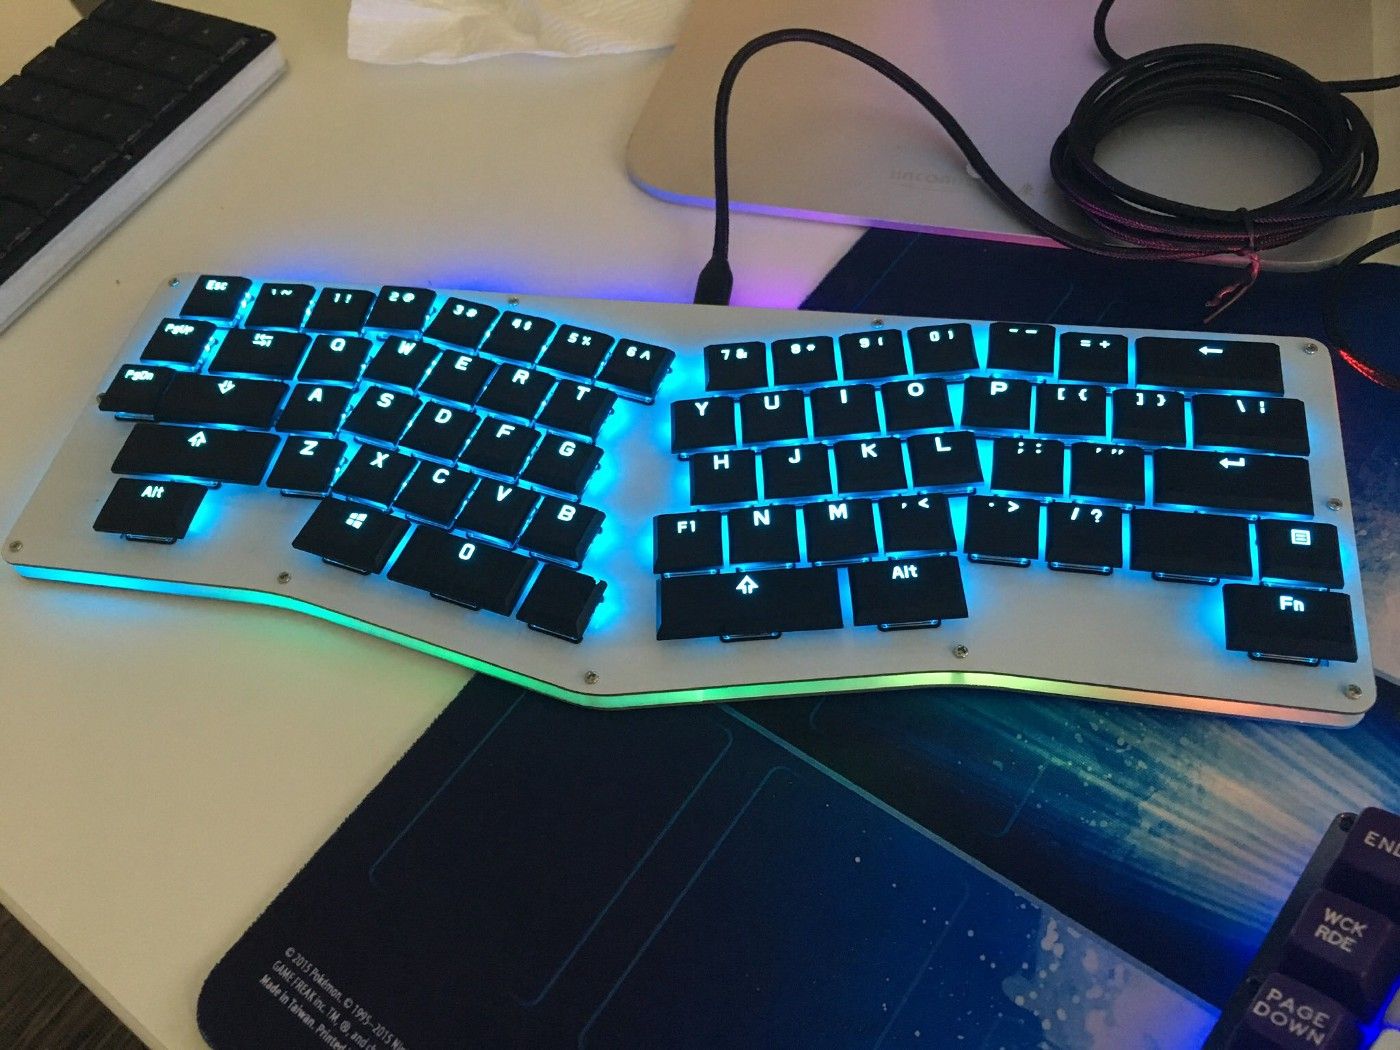
Ergodicity
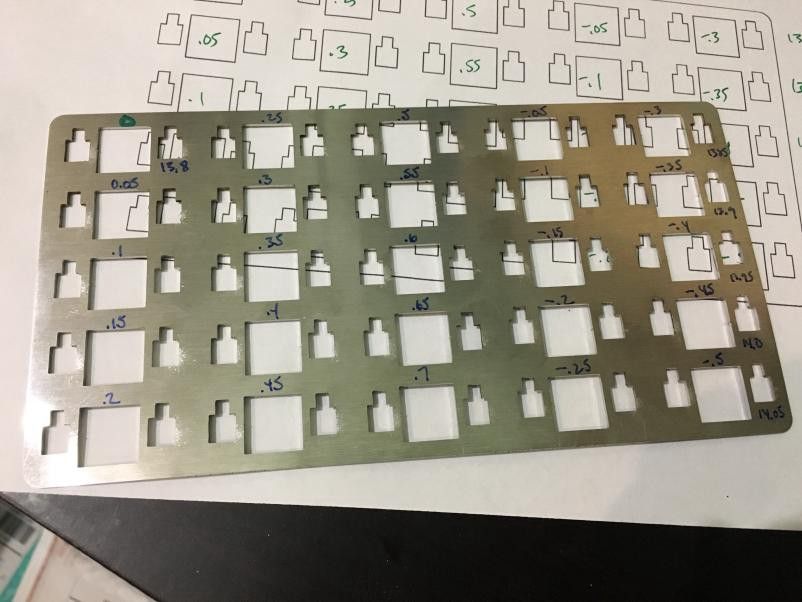
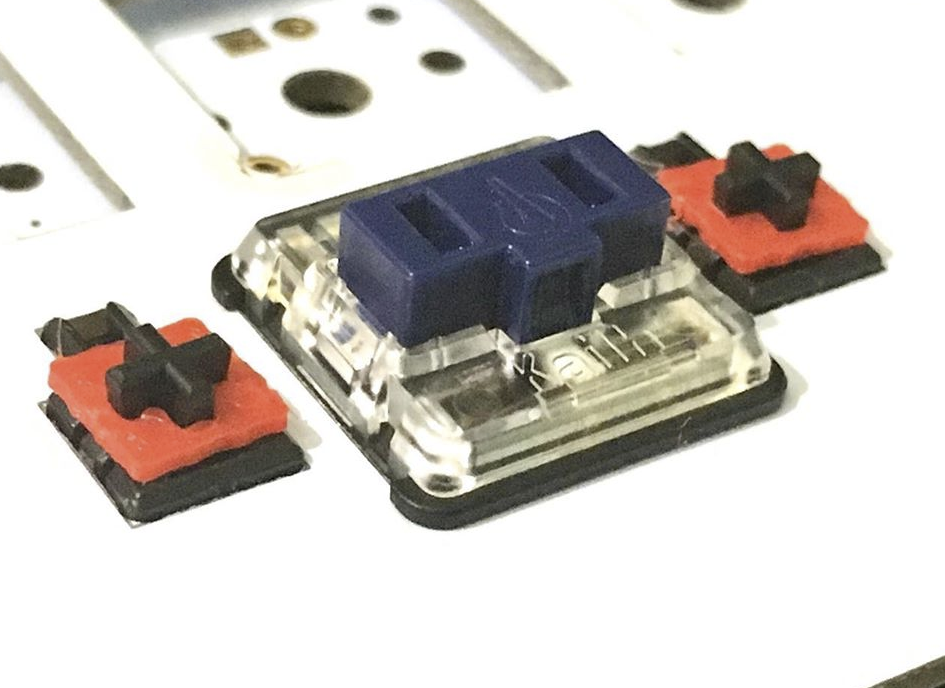
The hold up on this project at the moment is that I need to figure out the best placement of Choc stabilizer cutouts. Kailh’s datasheets about the stabilizers don’t have any indication of what the cutouts should be, so while I have the cutout shapes correct, I don’t have the best positioning of the cutouts yet with respect to the switch. You can see here that I’ve had a test plate made with various positions to figure that out, but I haven’t taken the time to use it yet.
Figuring out the position is important since if it’s a bit off, the switch won’t return properly after being pressed and will be stuck. One solution that worked with the initial plate I made for the Ergodicity was to 3D print some stab “washers” to help with the return of the switch. While this works and printing the inserts is easy to do, I’d rather go with the simplest solution possible.
Once I figure this out, the rest of the project should move along quickly, as the PCB design is complete and tested.
Nyquist/Levinson Rev. 3
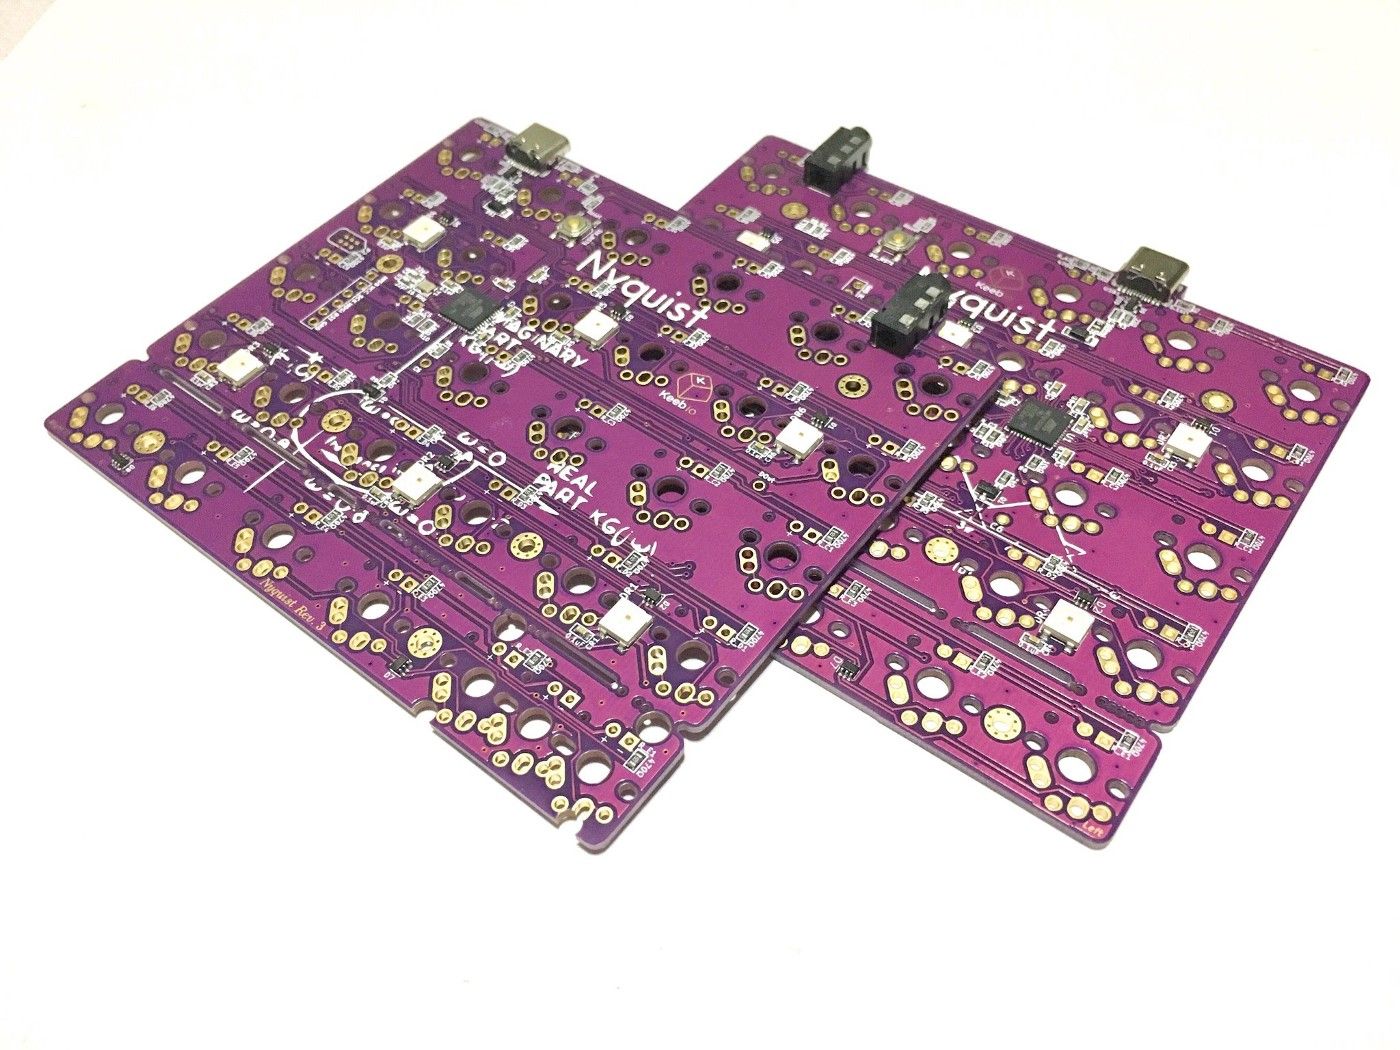
The Nyquist Rev. 3 finally got released recently, although I’m still working through flashing and doing QC on the boards. But enough of them have been flashed and inspected already where I’m not going to have trouble keeping them in stock.
There is a Pro Micro-based Levinson Rev. 3 that’s been all kitted up and ready for sale, but to prevent any confusion for my packing team, I’ve decided to hold those off until I clear through the current Rev. 2 PCBs.
Any other project you’re interested in that I forgot to talk about? Please let me know!


Member discussion