


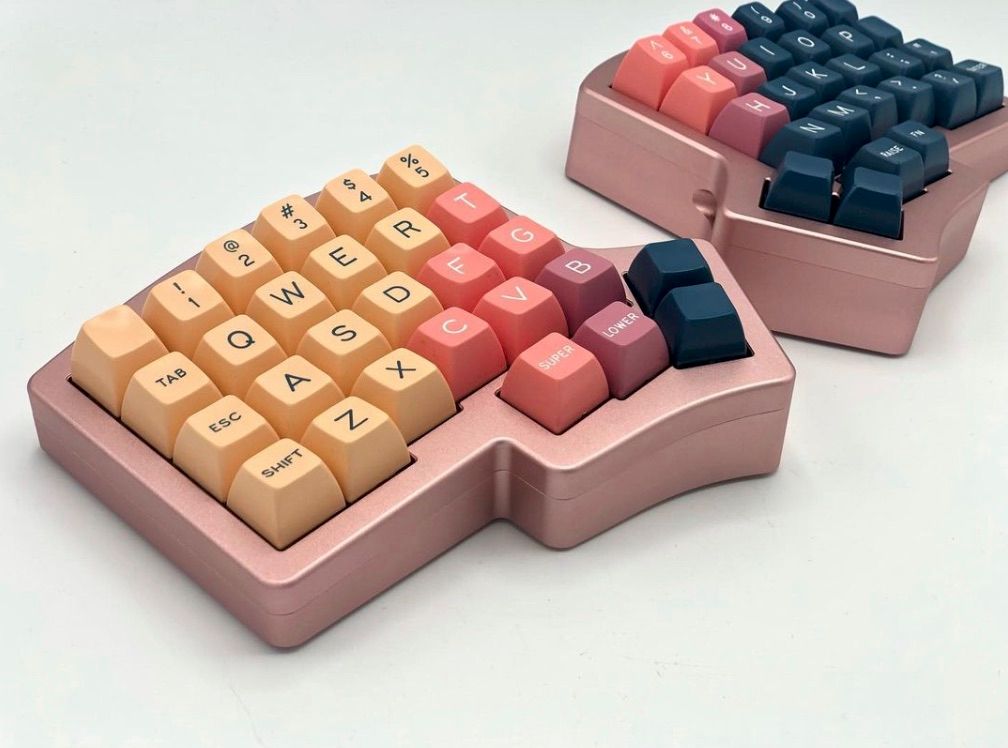
After several months of working on the design and going through a few prototypes, we've finally started production on the aluminum case for the Iris!
Development Process
What took so long? If you’ve been tracking the status of development on the status board, you’ll see that it takes about 3-4 weeks for each round of prototypes to be made and shipped to us. While it didn’t take us too long to make design revisions, we didn’t get to do them quickly after receiving prototypes, since we have multiple projects and tasks going on simultaneously.
In all, we went through 3 prototypes. The first prototype was fine, but we wanted to add some isolation between the top part of the case and the switch plate. We also modified the design to have a brass weight at the bottom, but we decided to scrap that idea due to a lack of space to work with.
So for the 2nd prototype, we added small o-rings to do a burger-mount, keeping the switch plate from coming into contact with the top and bottom parts of the case.
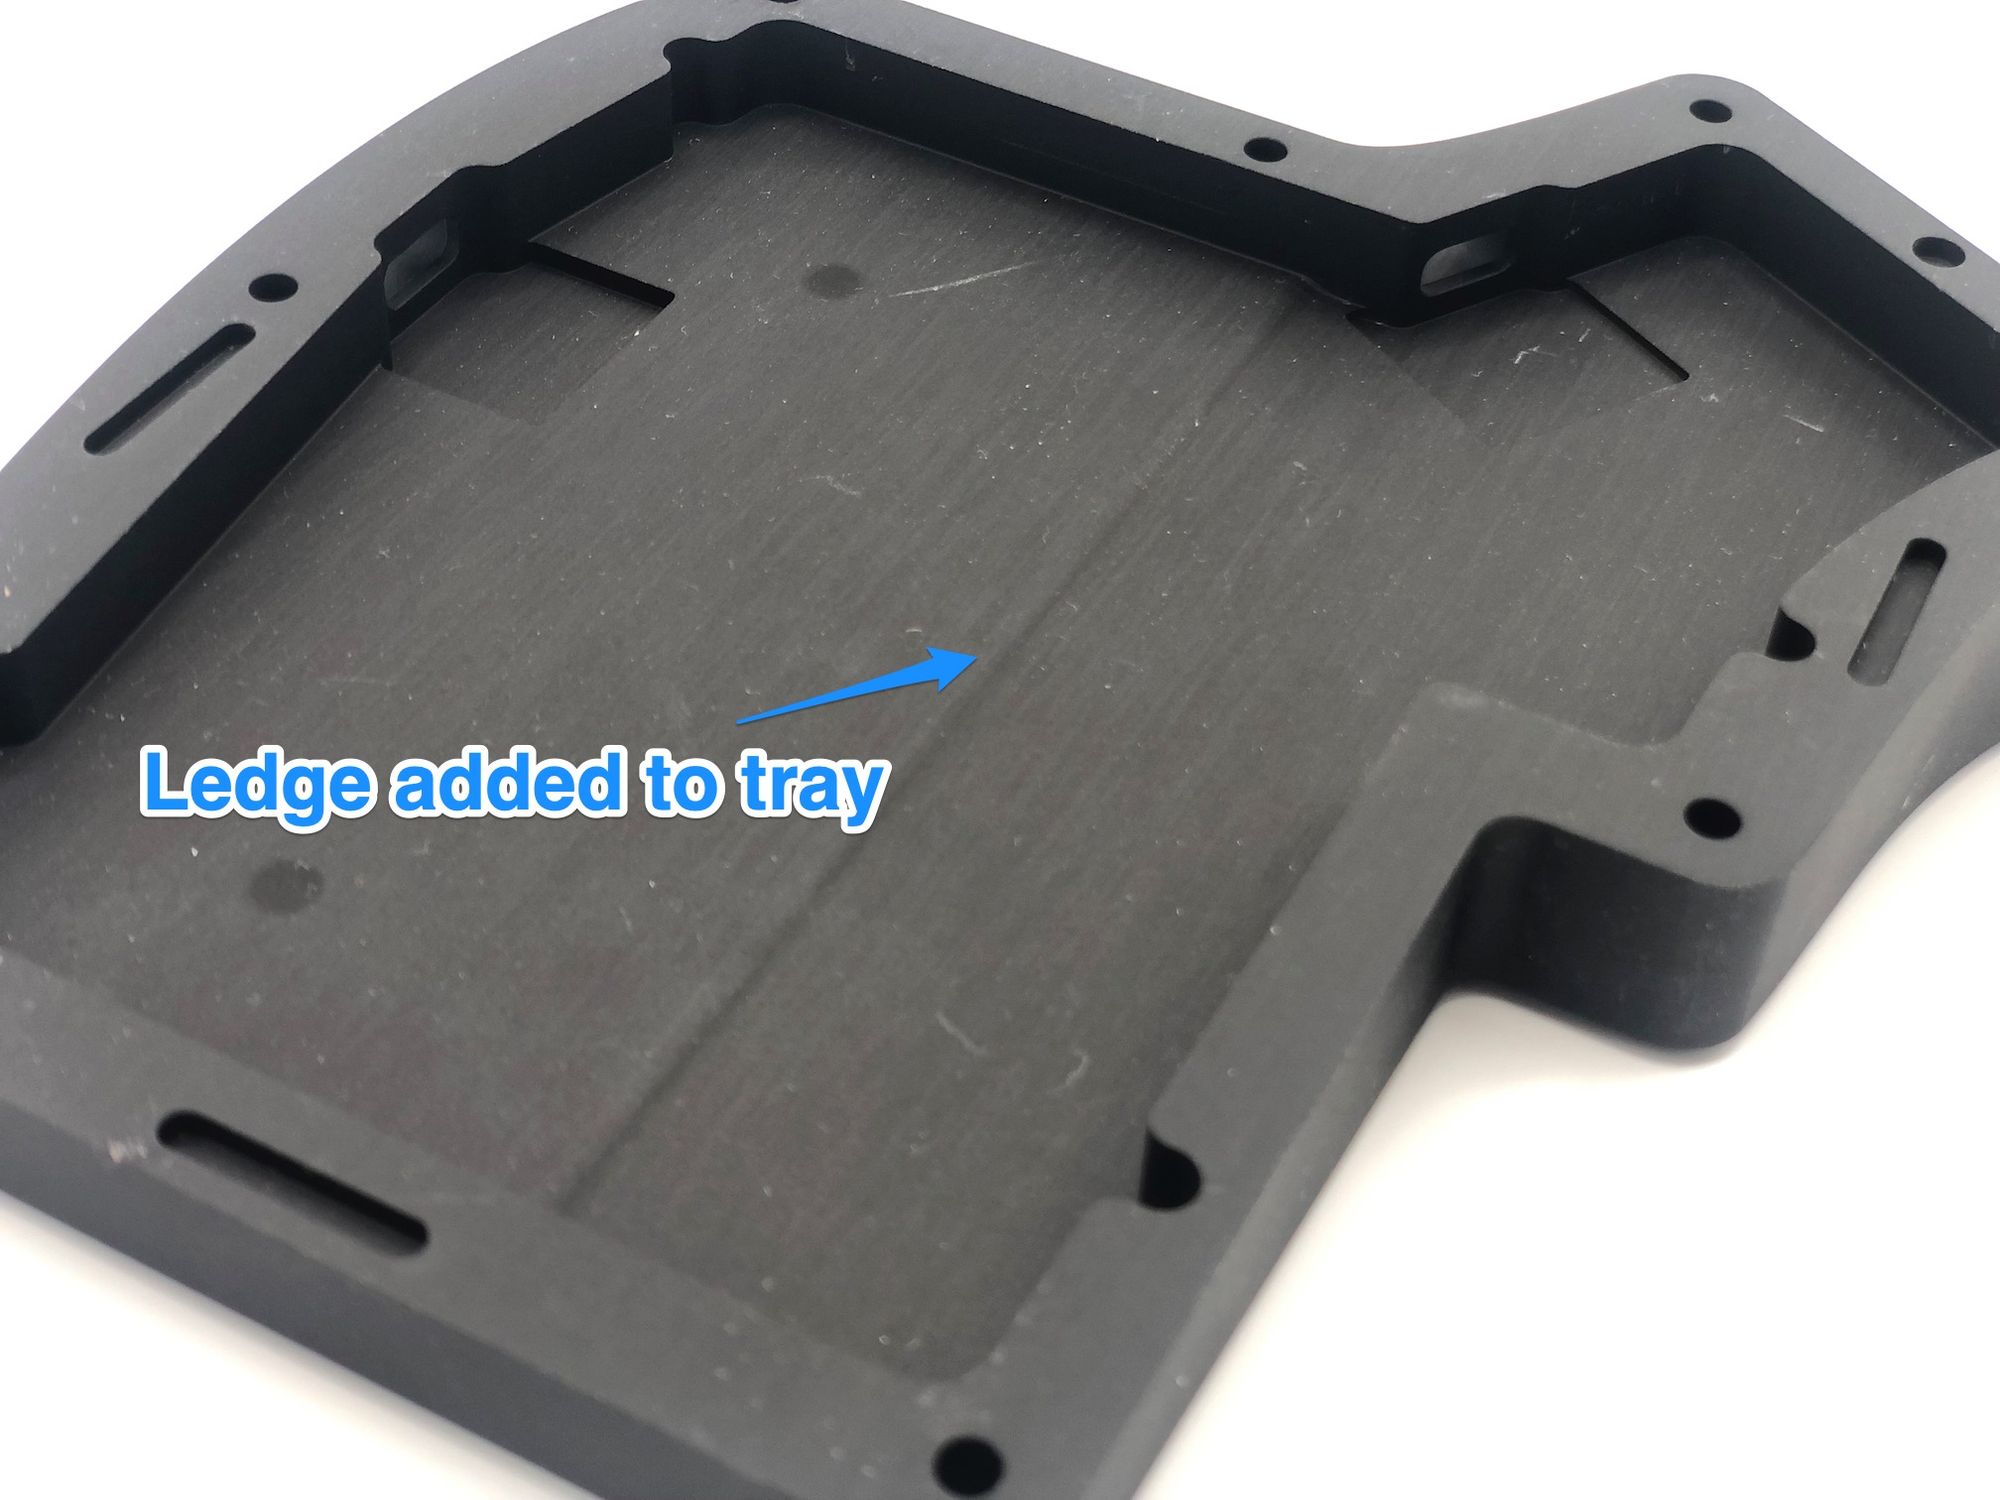
Additionally, the sound of keys in the upper rows sounded different than the sound in the bottom rows. The upper rows sounded deeper with a more desirable sound, while the bottom rows sounded higher pitched. To make the sound a bit more consistent throughout, we dropped the tray area under the bottom rows by a couple of millimeters.
Before sending off the revised design to be CNC’d, we ran a couple of 3D prints to see if we would get the sound change we wanted. Obviously, since it's 3D printed plastic instead of CNC'd aluminum, it wouldn’t be fully accurate, but we printed off versions with and without the ledge to hear if there would be a difference, and there was.
When we received the new prototype, we ran into one main issue: pinging. At a couple of corners, there would be case pinging when hitting the keys hard enough. We made a couple of adjustments to reduce the issue, and we also made some changes to the design in general to make it easier to manufacture.
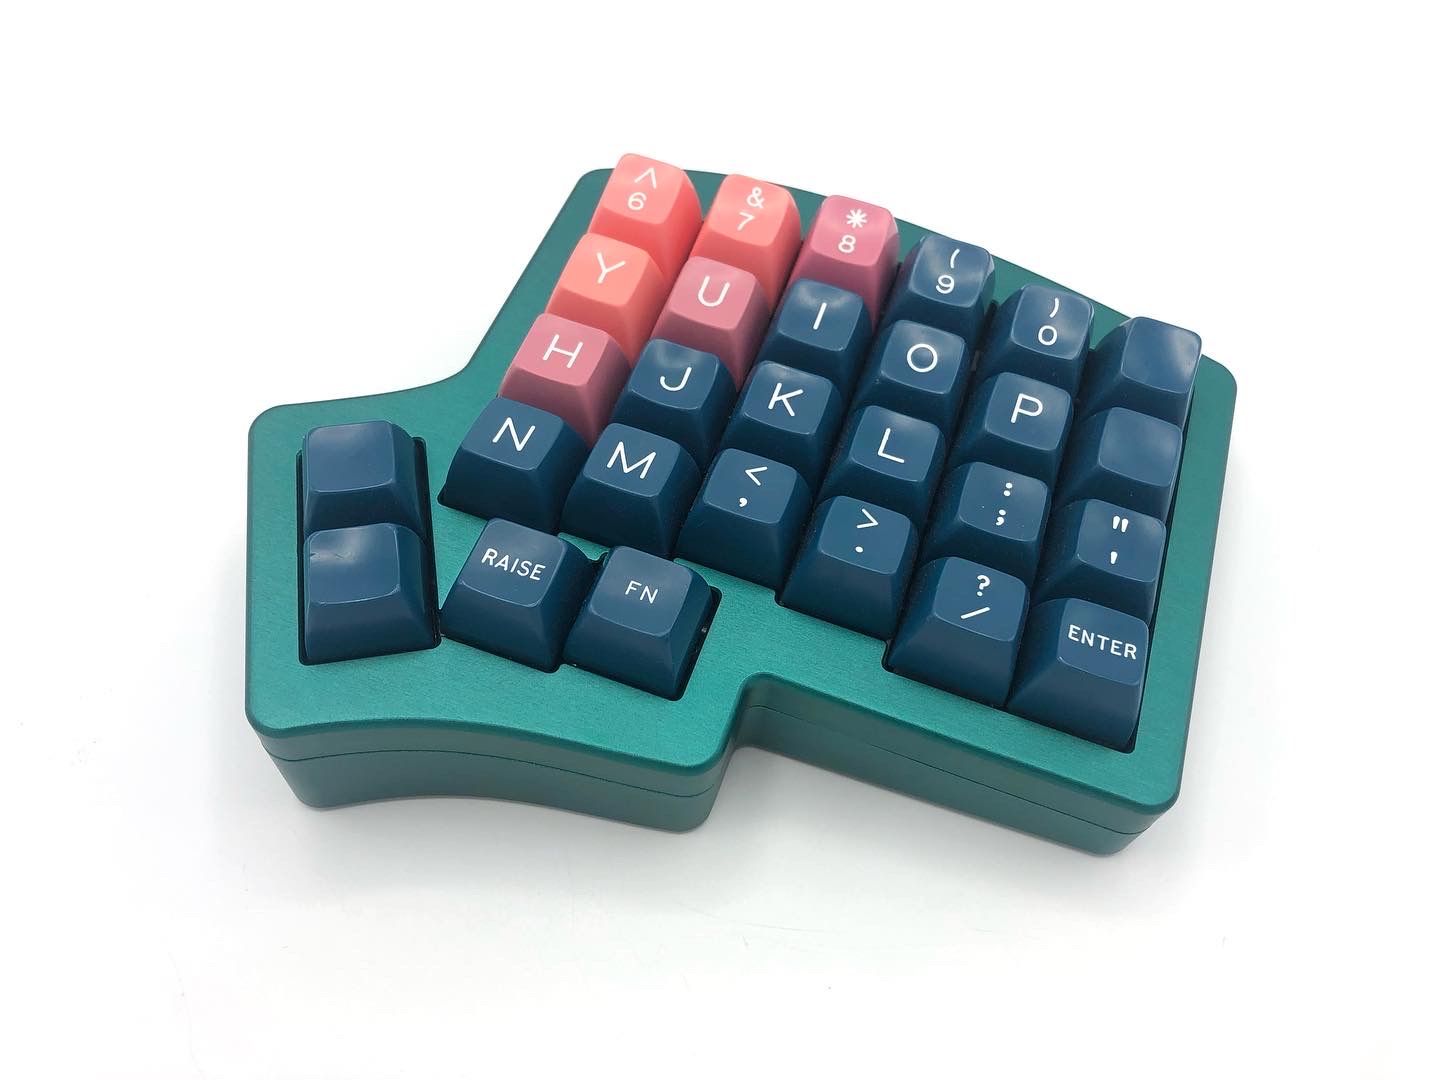
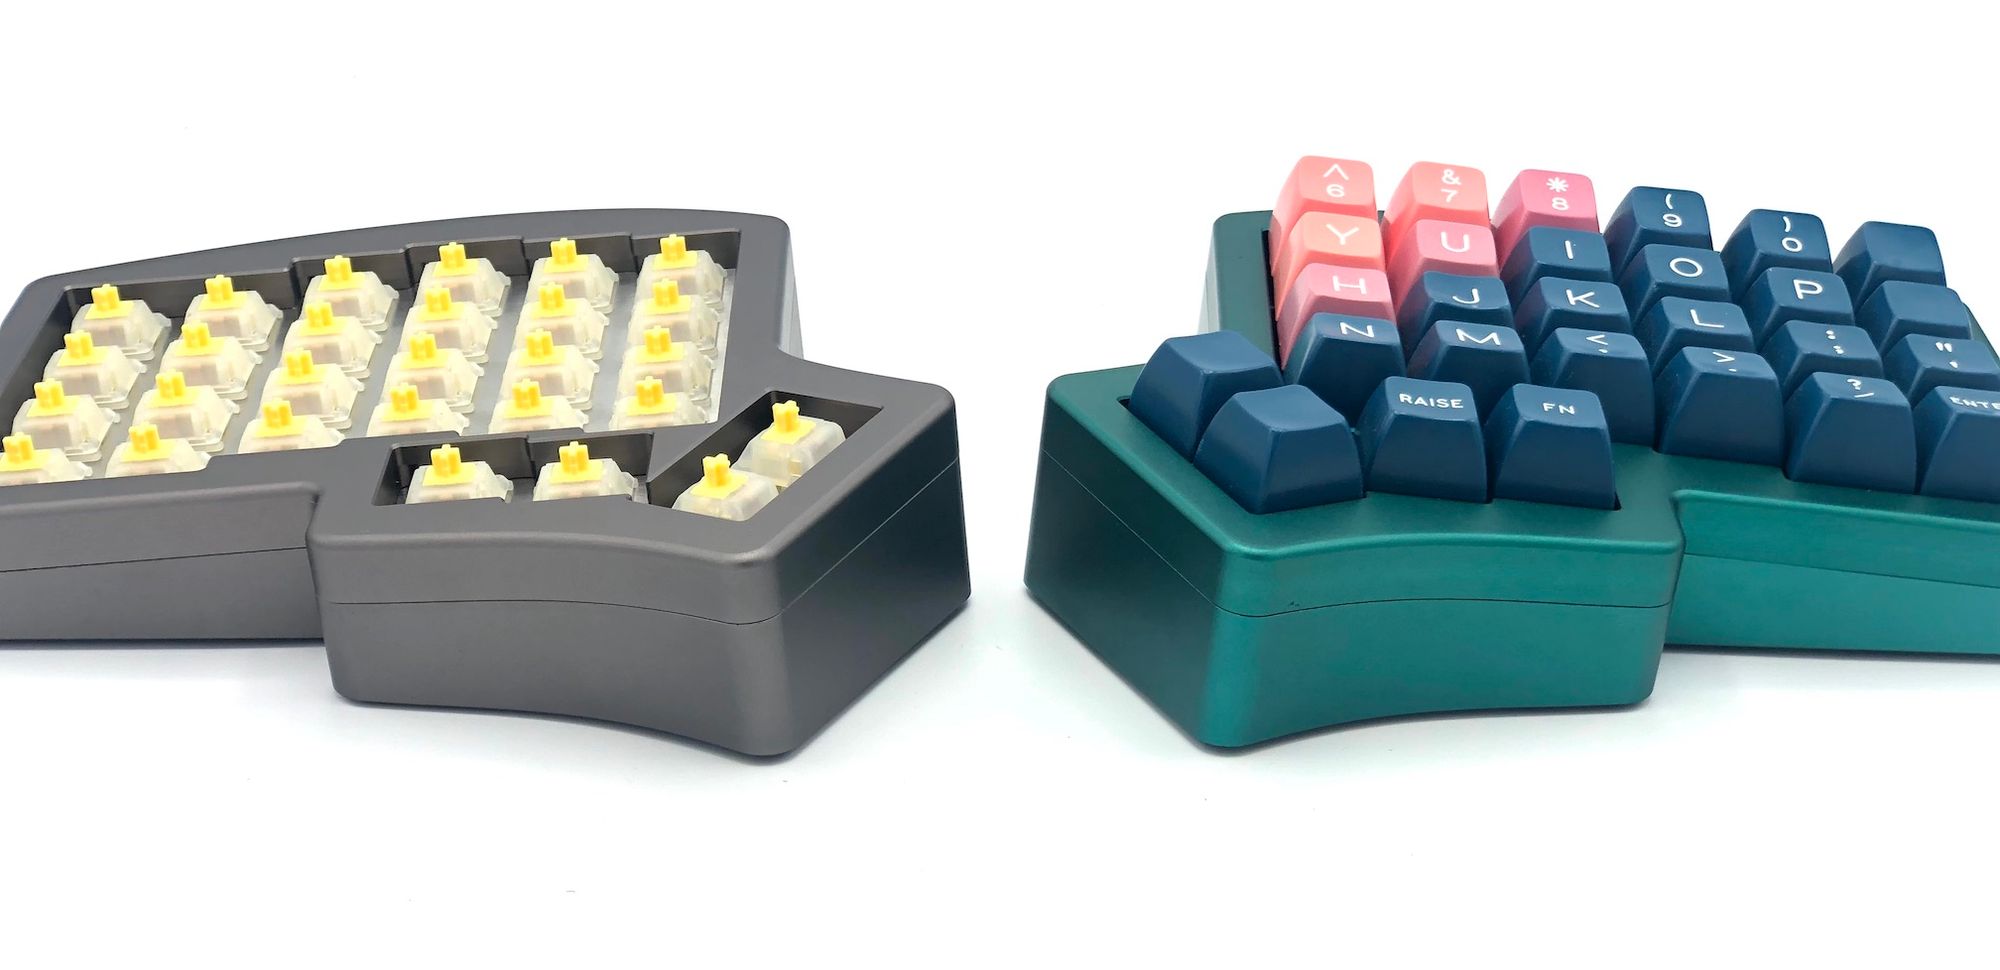
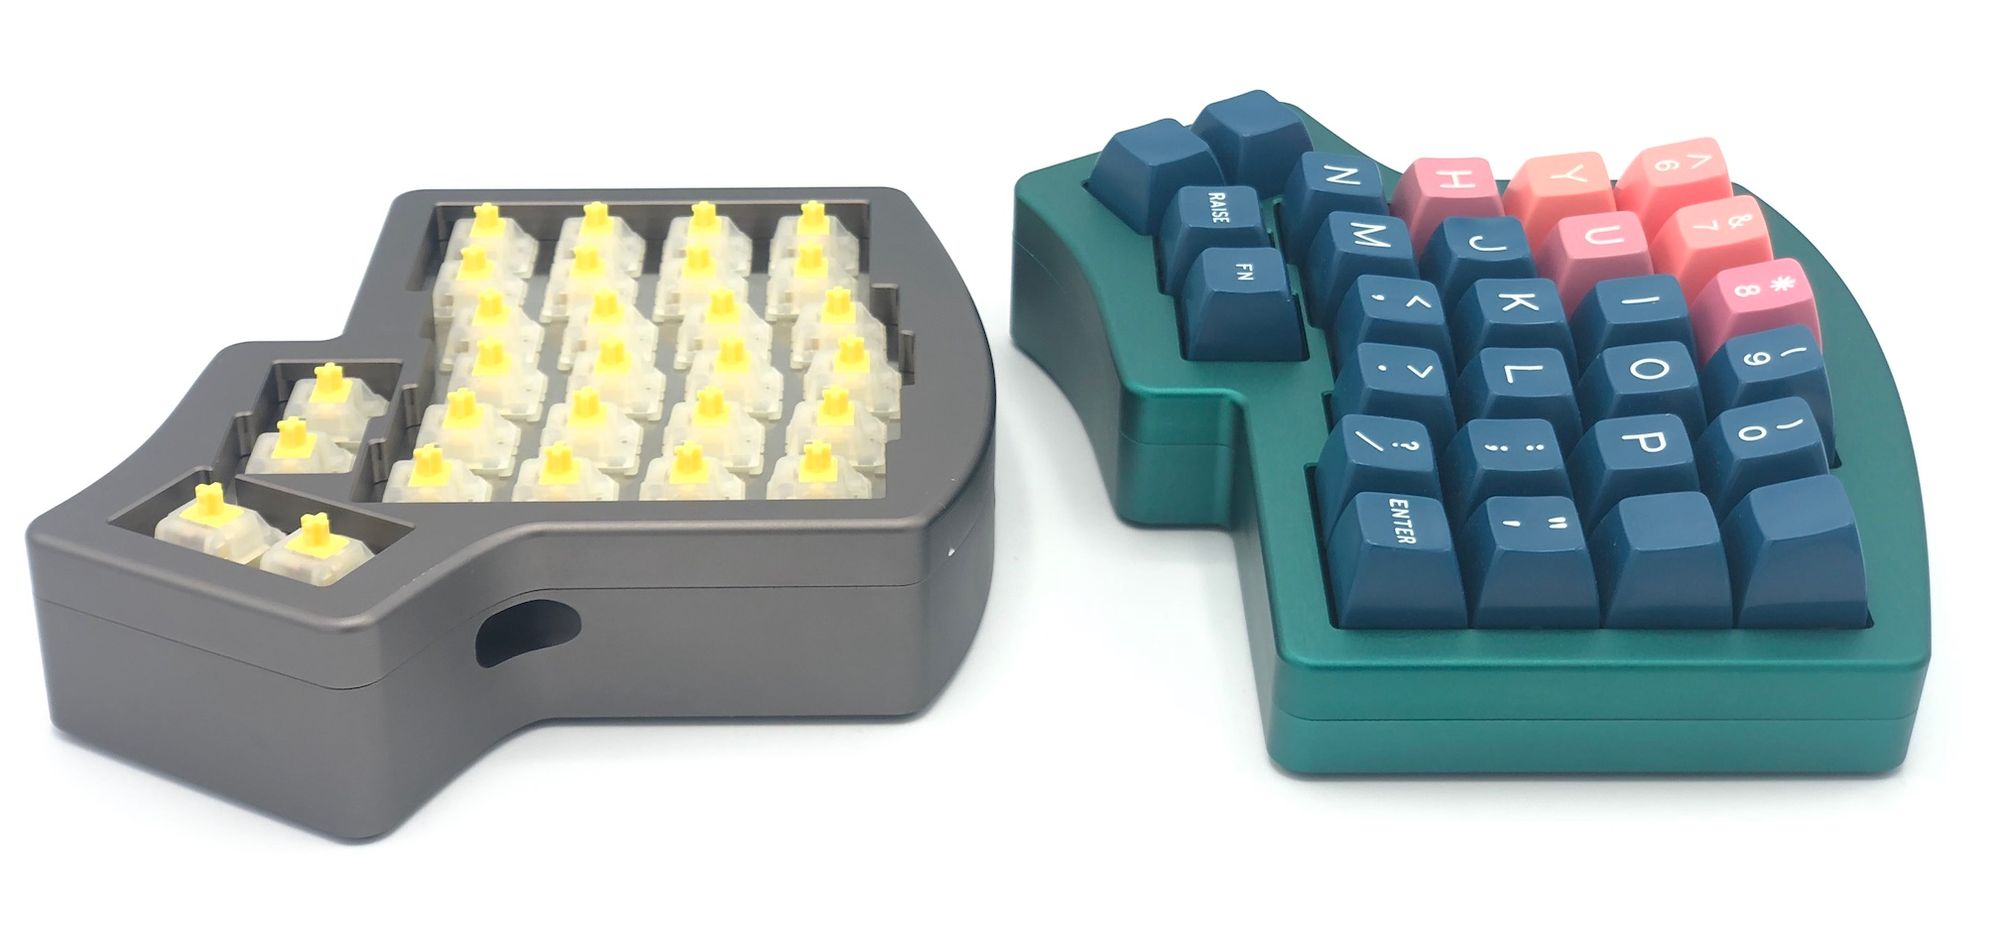
The last thing we also tested was two more colors: Blue and Green. We wanted a blue closer to a navy blue, rather than the royal blue present on the Jawn. We also wanted a green with a teal/turquoise look to it.
Colors
Here's the list of the colors that will be available for the initial production run:
- Colors that are the same as the ones for the Jawn:
- Gray
- Black
- E-White
- Lilac
- New colors:
- Blue (Sample shown above)
- Green (Sample shown above)
It won’t be available for this first run, but a raw aluminum option will be done for the second run since a number of people have requested it. With that option, you could have it sent to someone to have it cerakoted.
PCB Compatibility
The case will be compatible with any of the PCB revisions that uses USB-C for connecting both halves together, which includes the following PCBs:
- Rev. 5 (non-hotswap)
- Rev. 6 (hotswap)
- Rev. 7 (hotswap) - Like Rev. 6, but also has 2u thumb support
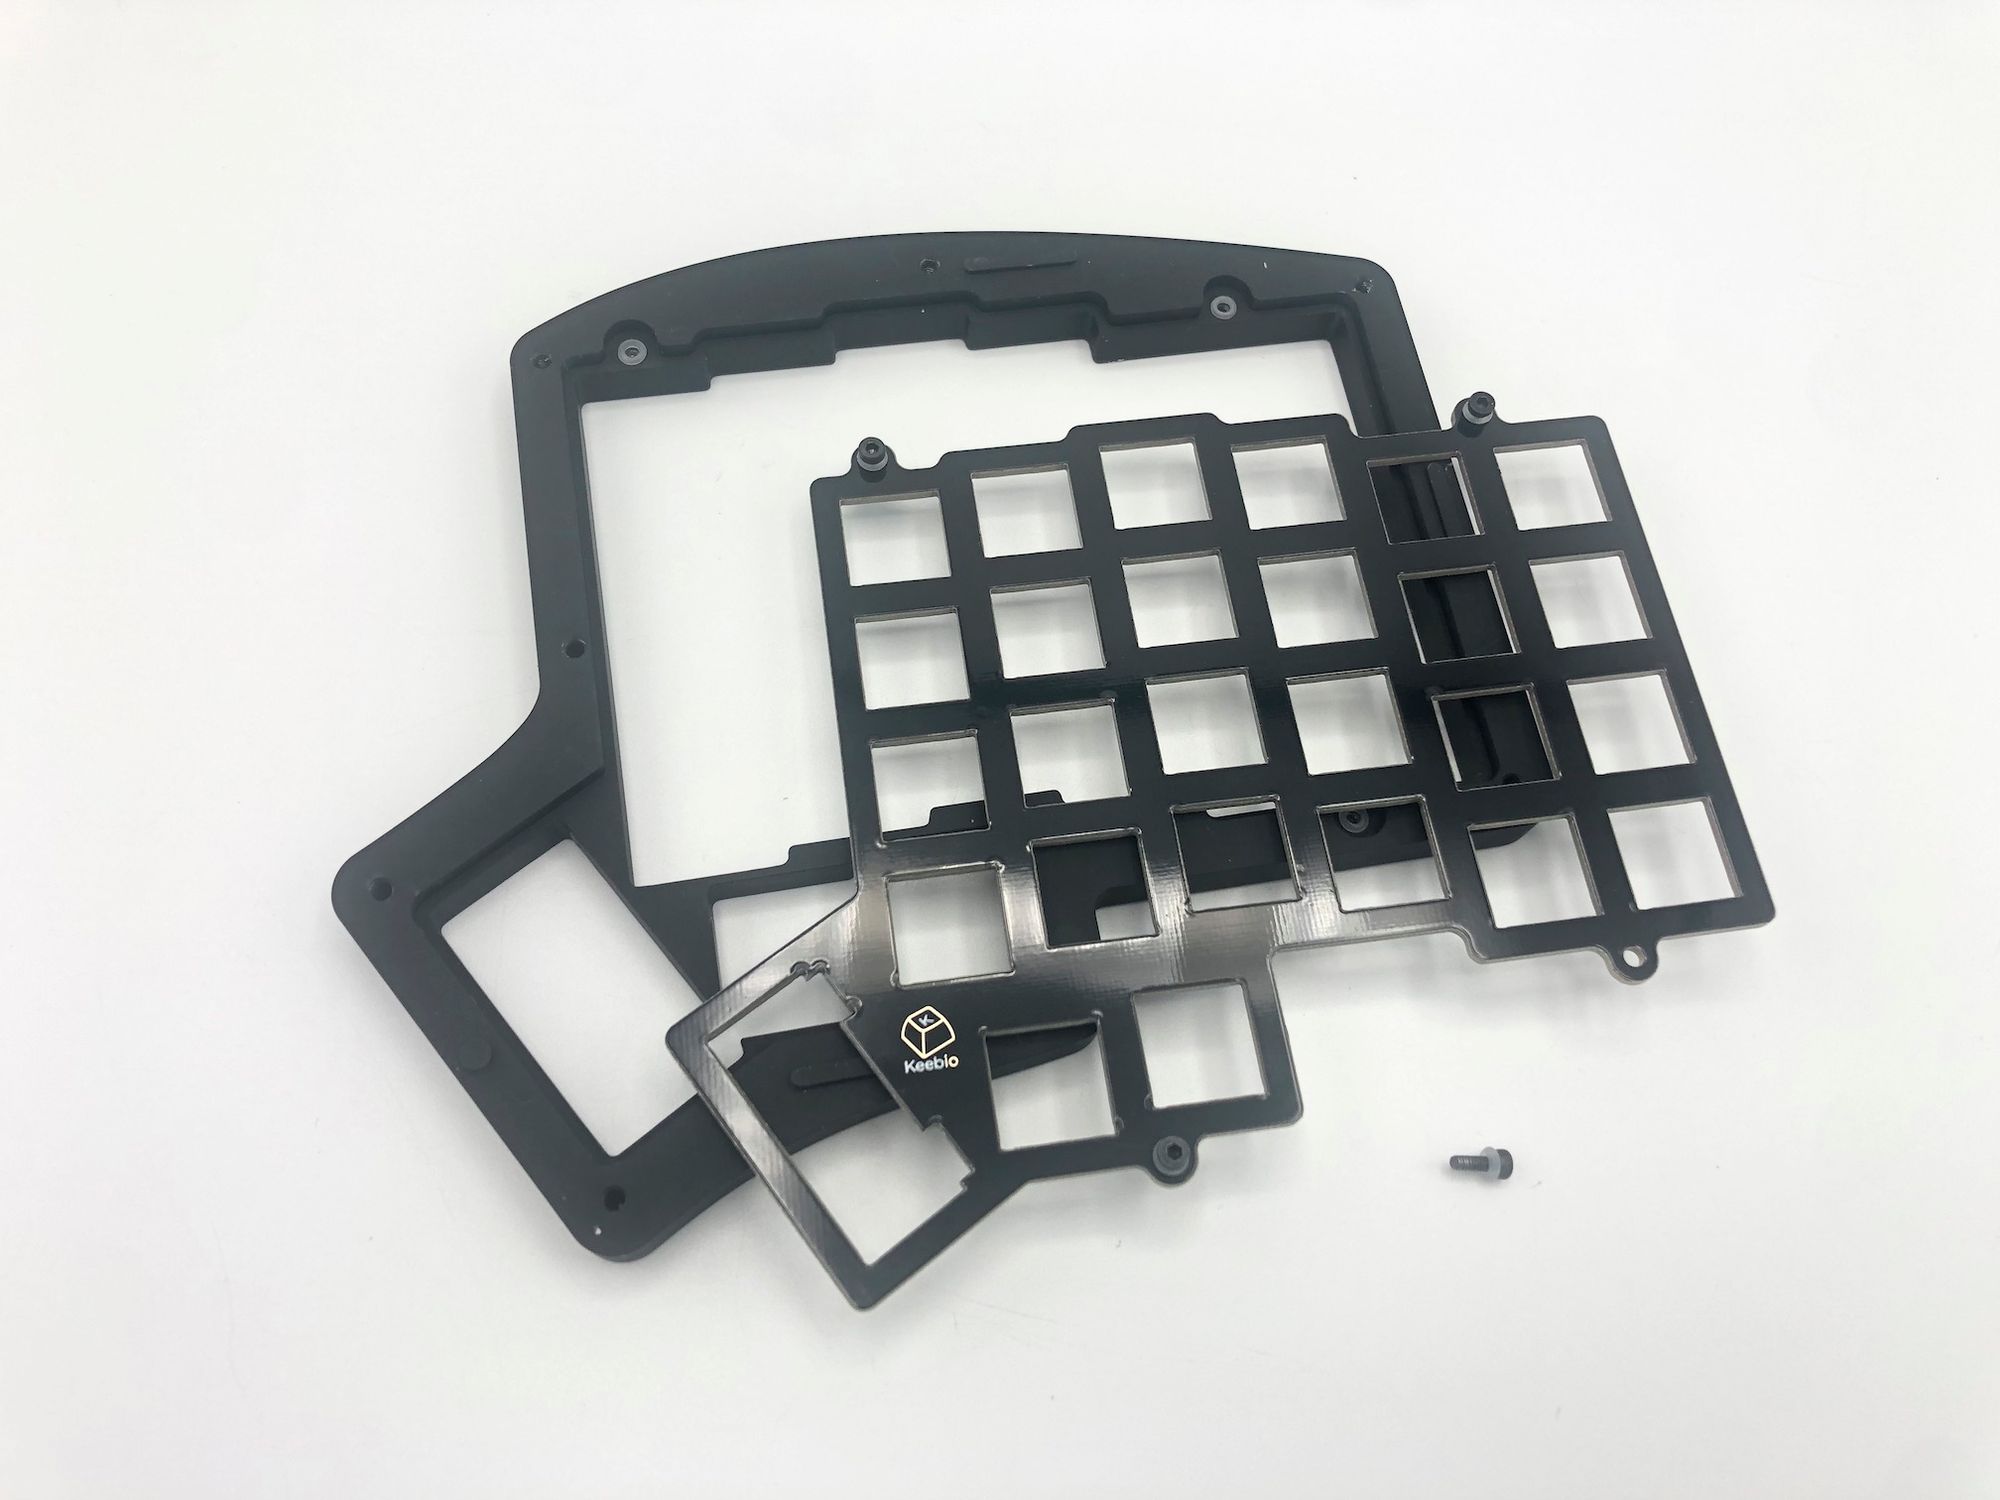
Plates
Included are a set of stainless steel switch plates and FR4 switch plates, allowing you to select what kind of feel you’d like. If you’d like a softer feel, then use the FR4 plates. If you want a more solid feel and a bit more weight to the board, then use the stainless steel ones.
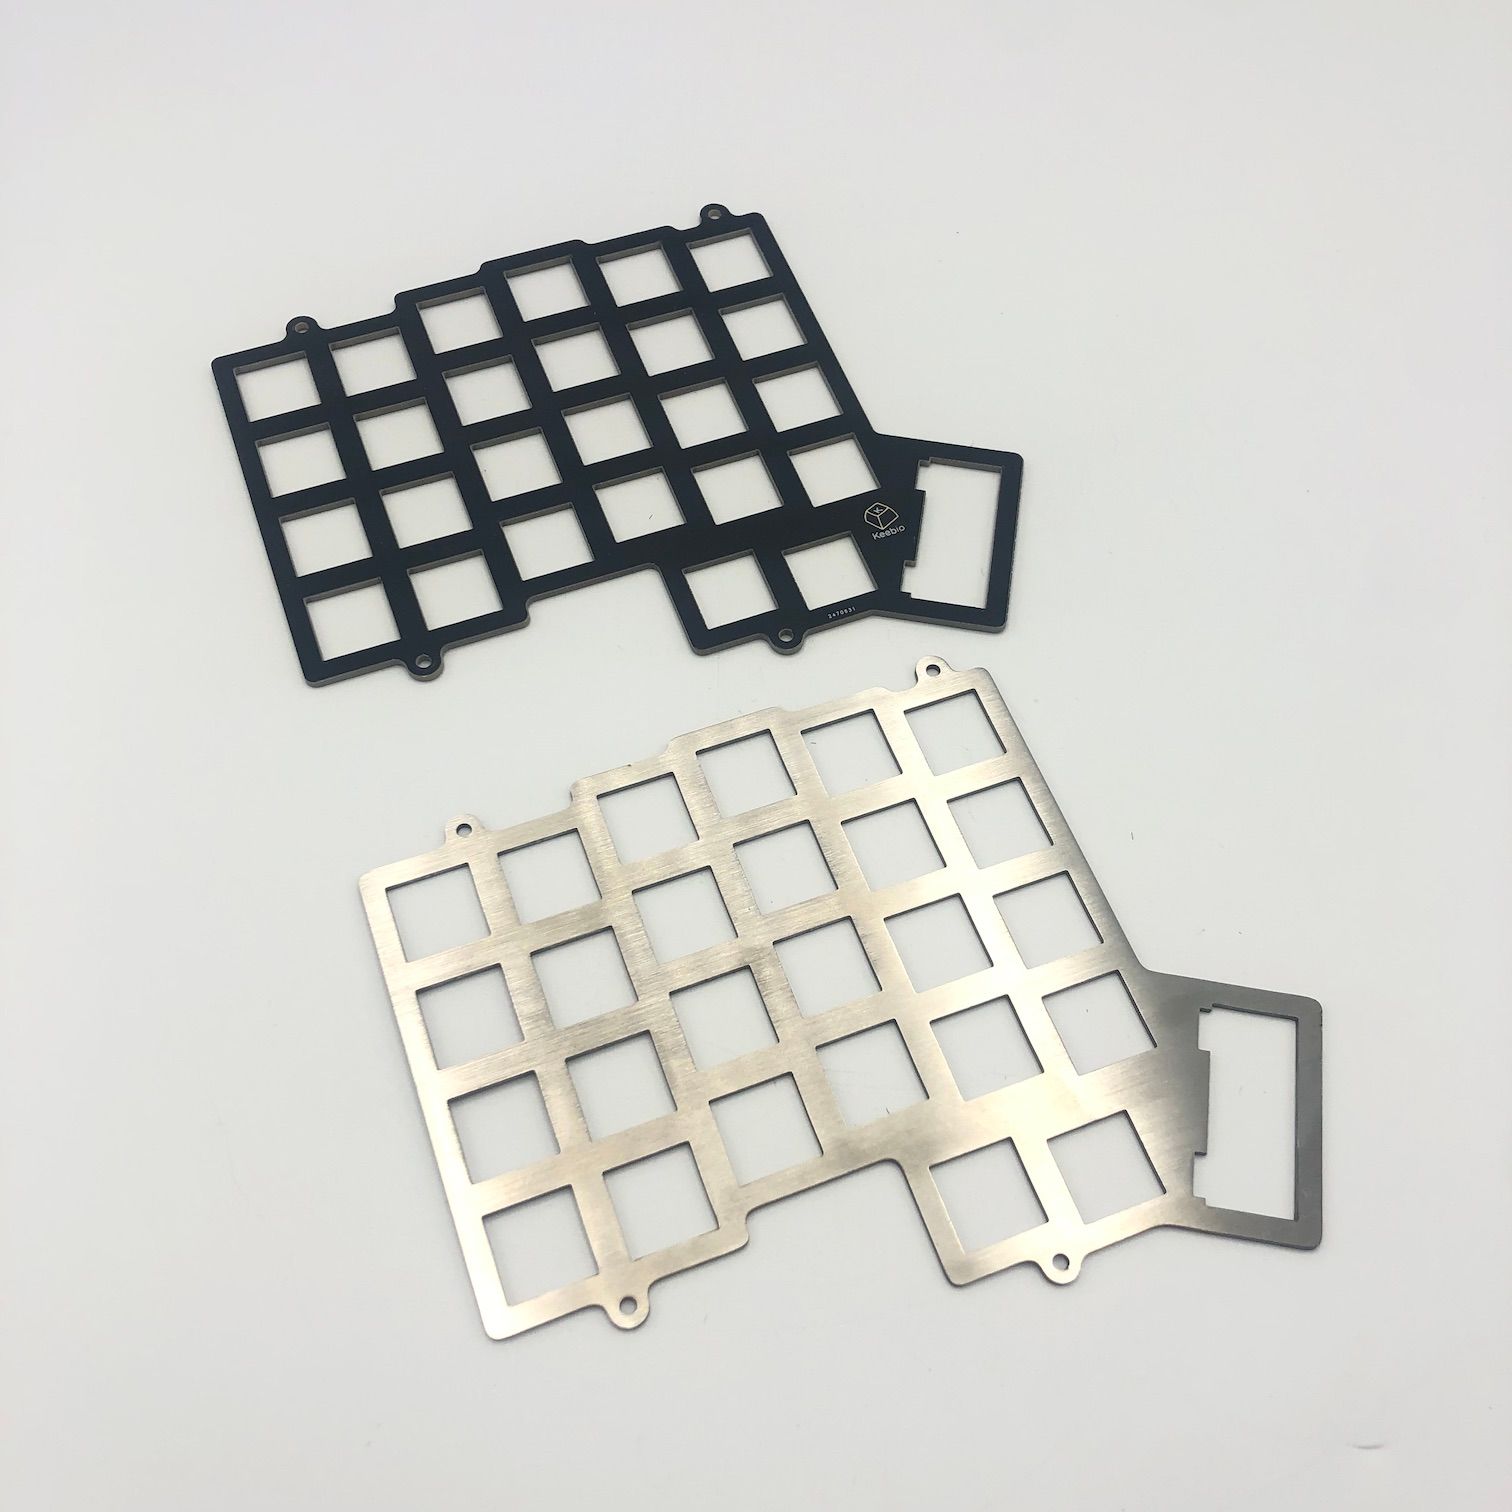
If you’re using one of the hotswap Iris PCBs, you’ll be able to test both out easily to see which set you prefer.
Tenting
When using a split board, it’s also nice to tent each half as well for better wrist positioning. While it would have been nice to incorporate a way to make the tent/tilt adjustable, it would have made the whole project a bit more complex than what we wanted. Instead, we decided on a slight 5° built-in tent and 0° tilt for the keyboard. If you're unfamiliar with the difference between tent and tilt, see this post about it from our friends at SplitKB.
Carrying Case
Because we know that you need to protect your newly acquired prized possession, we’ve also designed a carrying case to go along with it. In the center area, you may notice that there’s a spot to put your USB cables, and you won’t need to disconnect the cable between halves when putting your board away.
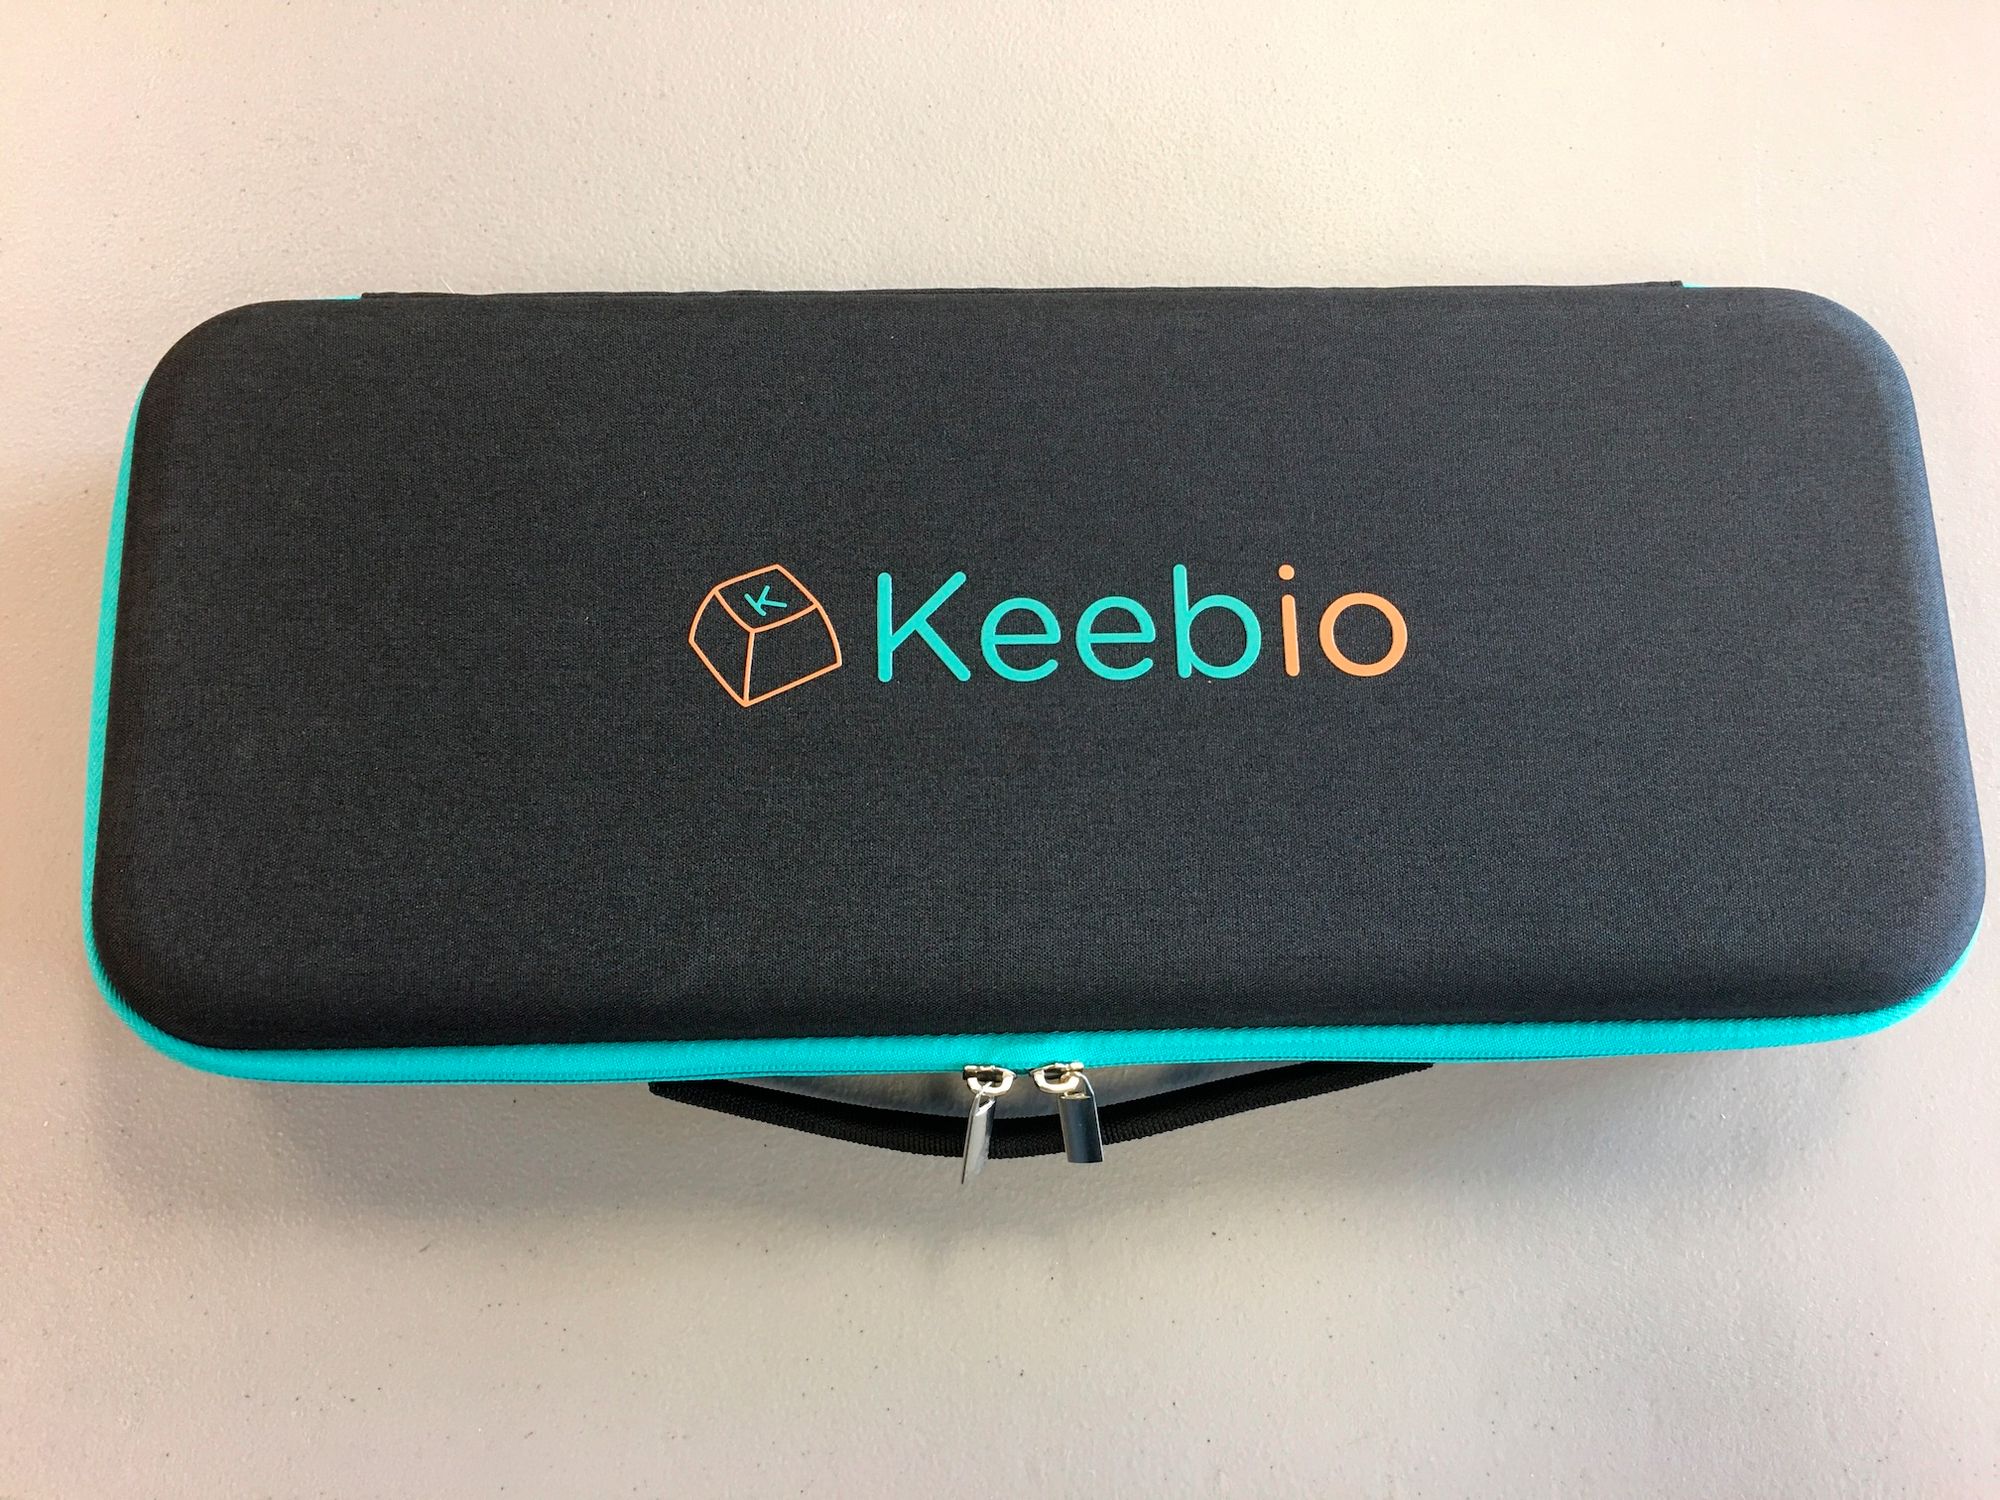
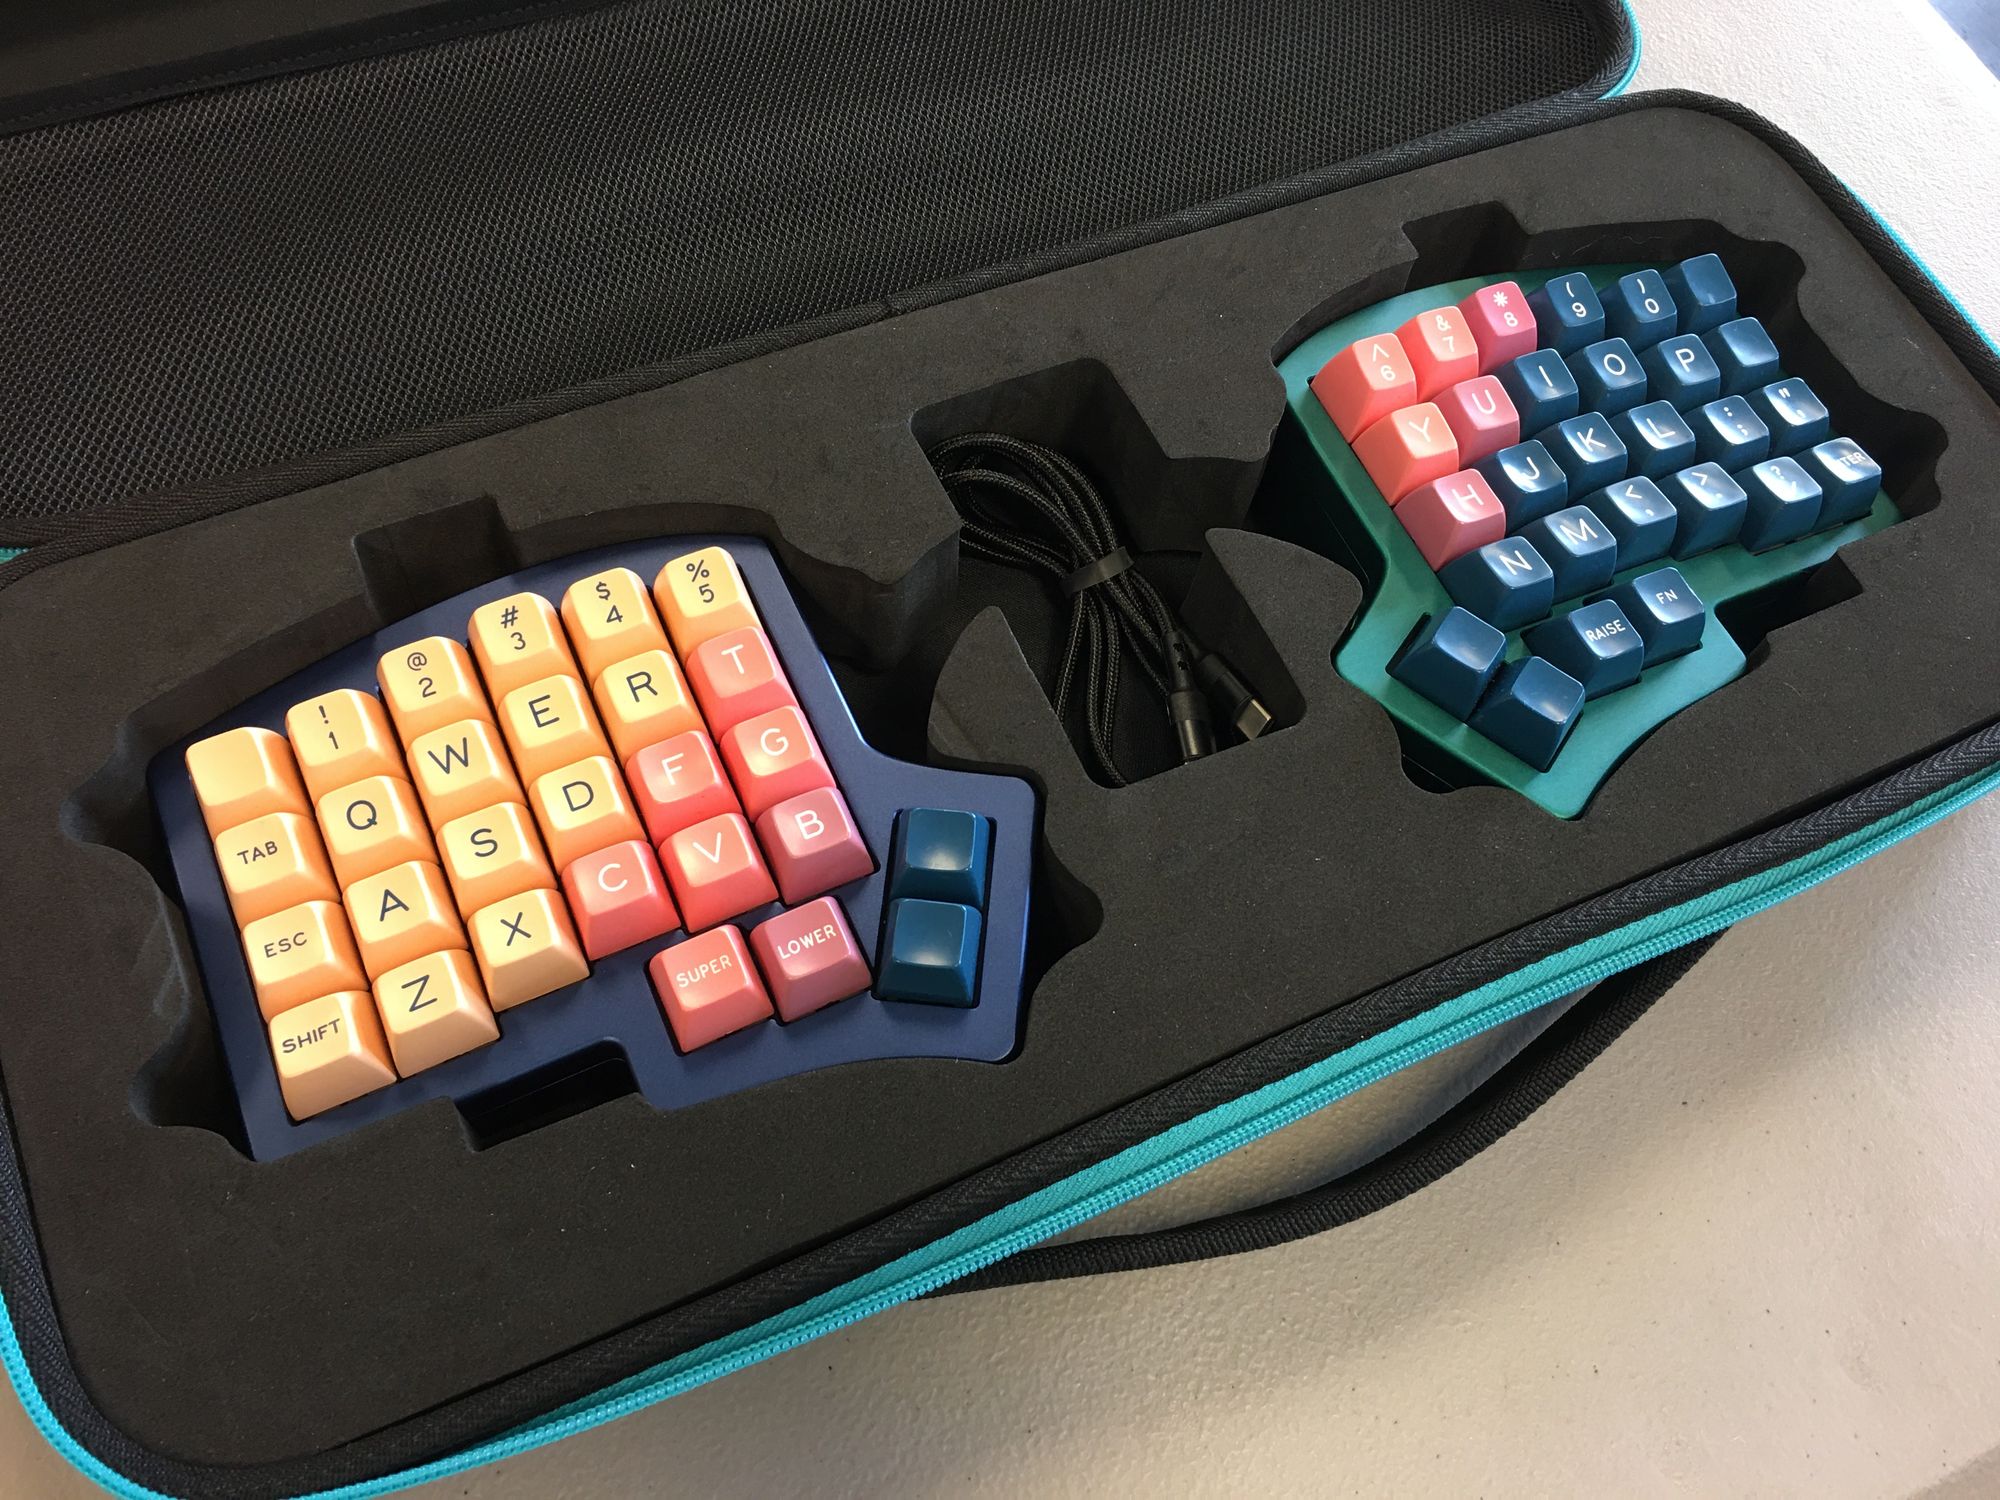
There’s also a mesh pocket on the top shell of the case for you to put other accessories into.
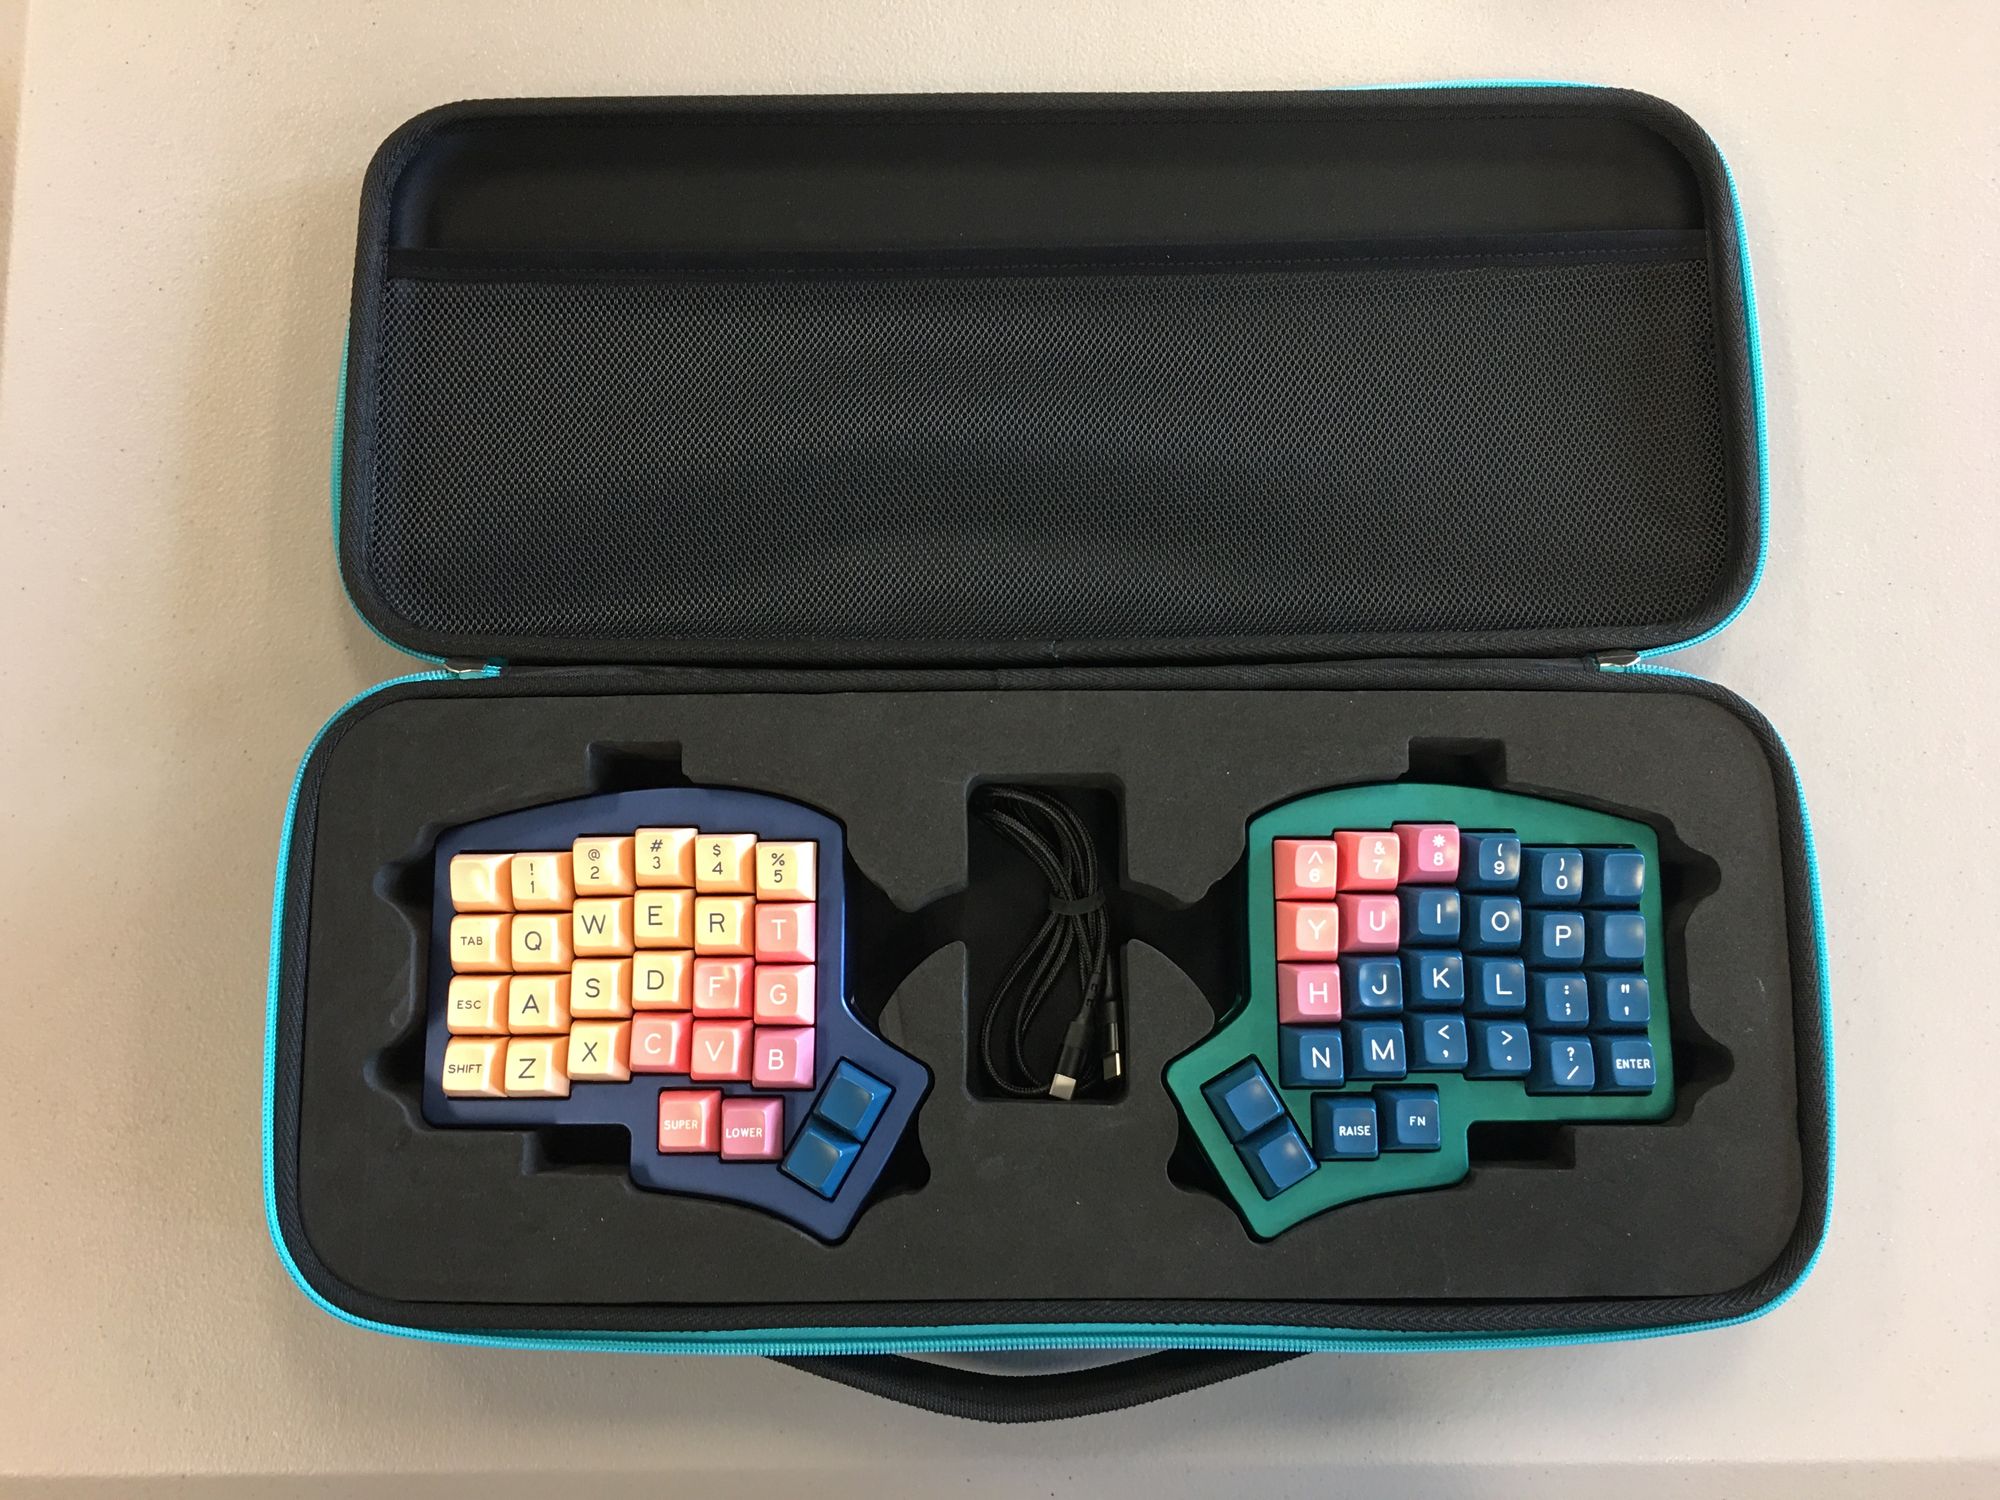
The case can also fit non-aluminum cases as well. One thing to note about this though is that it’ll fit builds using the tented middle layer snugly, but if you’re using the non-tented one or no middle layer, the fit will be loose. However, there are Velcro straps that can be used to keep your board from flipping around. (Velcro straps are not present in these prototype pictures of the case.)
Availability
We expect everything to be ready for sale in about 2-3 months, so about October-November, based on our past experience with our manufacturers.
Pricing hasn't quite been fully determined yet, but it's estimated to be around $350-400, which includes the carrying case, but not the PCBs. Some of the pricing will depend on the amount of A-stock vs. B-stock we end up with.
Here's the link to the product page for the case, where you can sign up to be notified when they're made available:
If you'd like to keep up with the status of the aluminum case and the carrying cases, click on the links below:
We hope you enjoy this keyboard once you get your hands on it, as we've heard a lot of feedback over the years that you've wanted something like this. So that's why we've put in all this effort with creating the Jawn case for the BDN9 as a small test run, followed by the development of the case for the Iris. We're looking forward to designing and releasing more aluminum case designs, starting with the Quefrency next.
And if you haven't already done so, sign up for our newsletter to keep up to date with us! Thanks for your support!


Member discussion