


If only designing PCBs were so simple. While developing the Nyquist and other keyboard circuit boards, I have gone through a bunch of iterations as I discovered various issues or things that could be improved upon. Here’s some of the snags I’ve run into along the way, as well things that were improved upon.
Nyquist
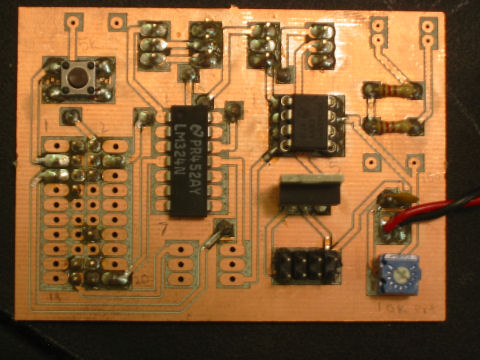
The Nyquist was the first PCB design I’ve done since college, which was over 10 years ago. Back then, I used EAGLE, but it was for a small circuit board that was not very complicated. So I started from scratch again and went through this guide that a bunch of keyboard PCB designers start with these days for using KiCAD.
Version 1 — The first failure
Combining that guide with the open-source PCB design for the Let’s Split, I hacked away at designing Nyquist Version 1 for about 3 days. Once I was finished, I generated the Gerber files in KiCAD and fired them off to EasyEDA for fabrication of 30 PCBs.
A couple days into the week long wait, I was chatting with someone about Pro Micro pinouts when one of the questions he asked me made me realize I had interpreted a pinout on the Let’s Split PCB files incorrectly and used the wrong pins. I tried contacting EasyEDA to cancel the order, but it was too late.
Several days later, I finally got my PCBs and was easily able to find a workaround to make the boards useable:
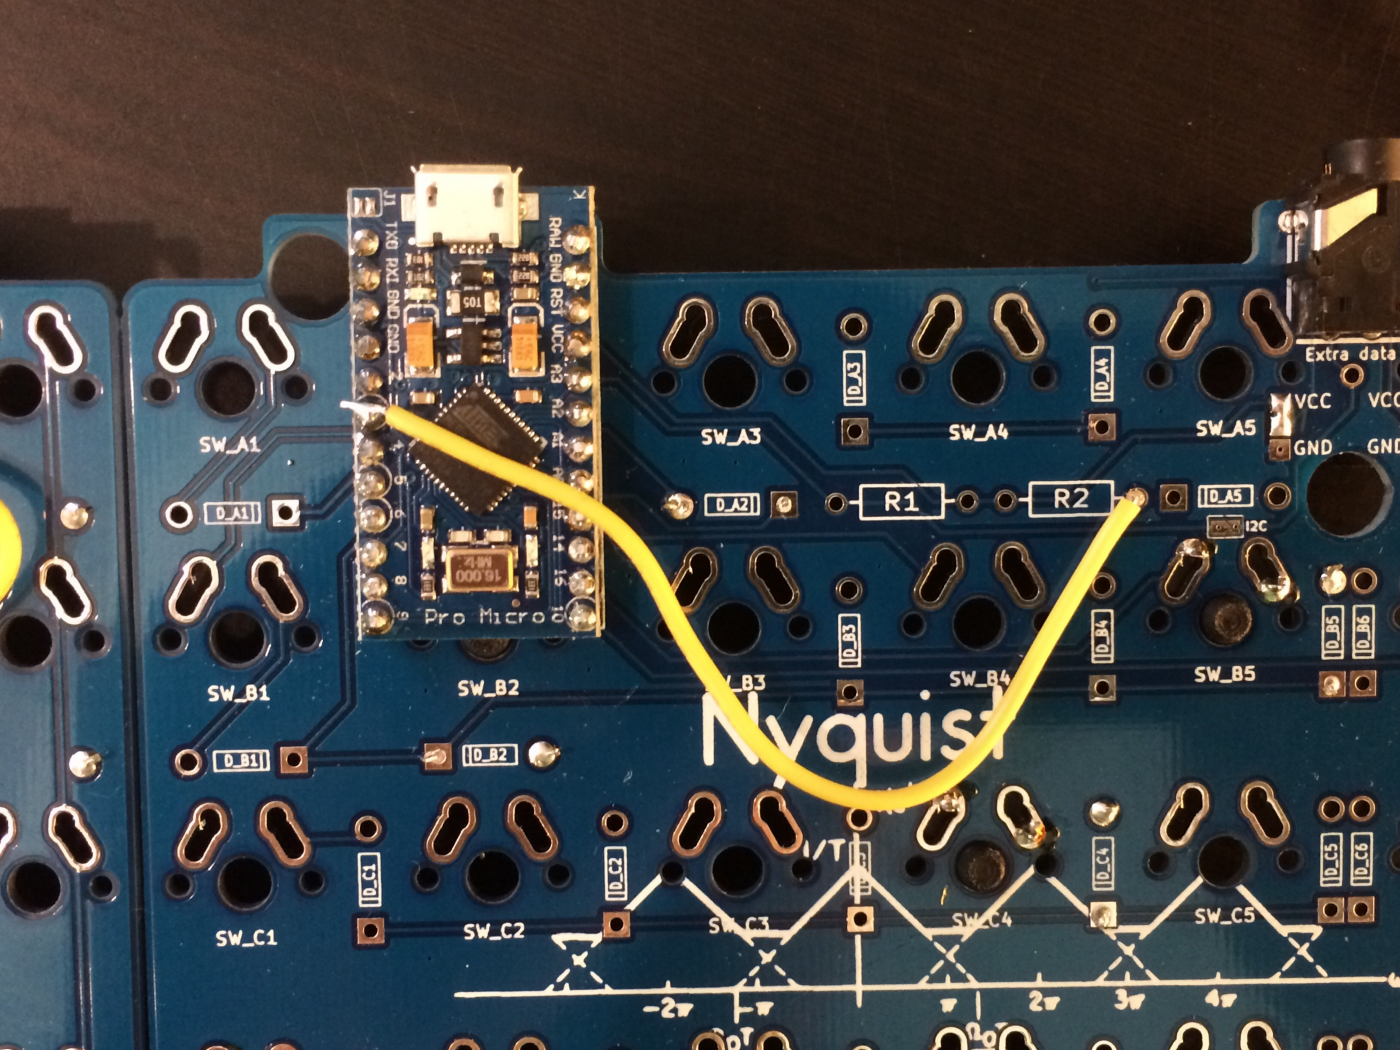
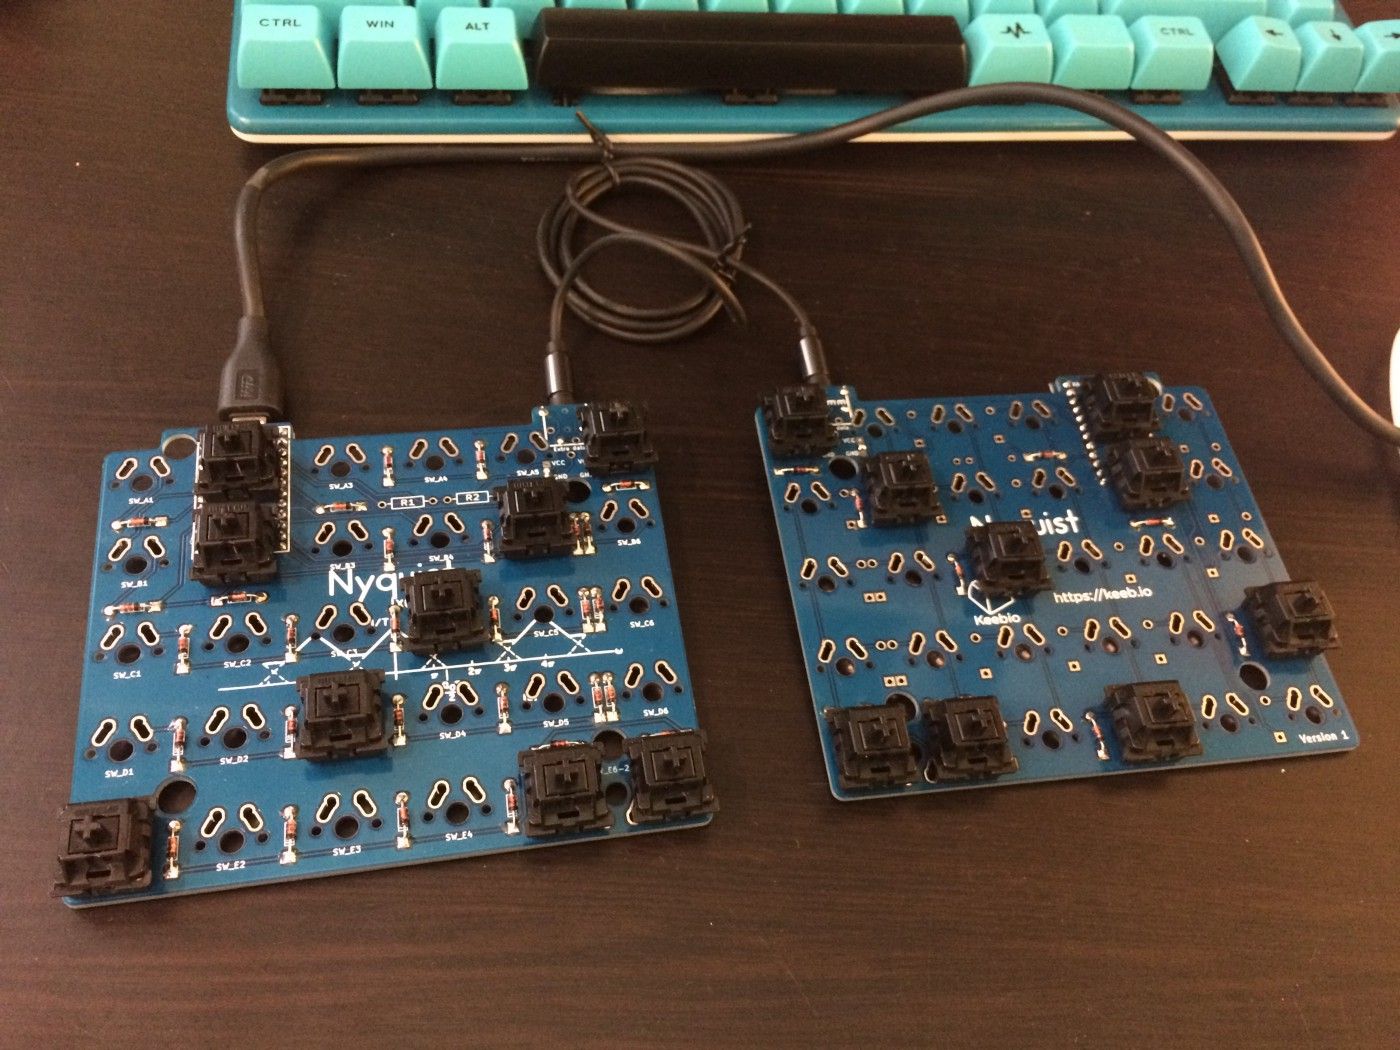
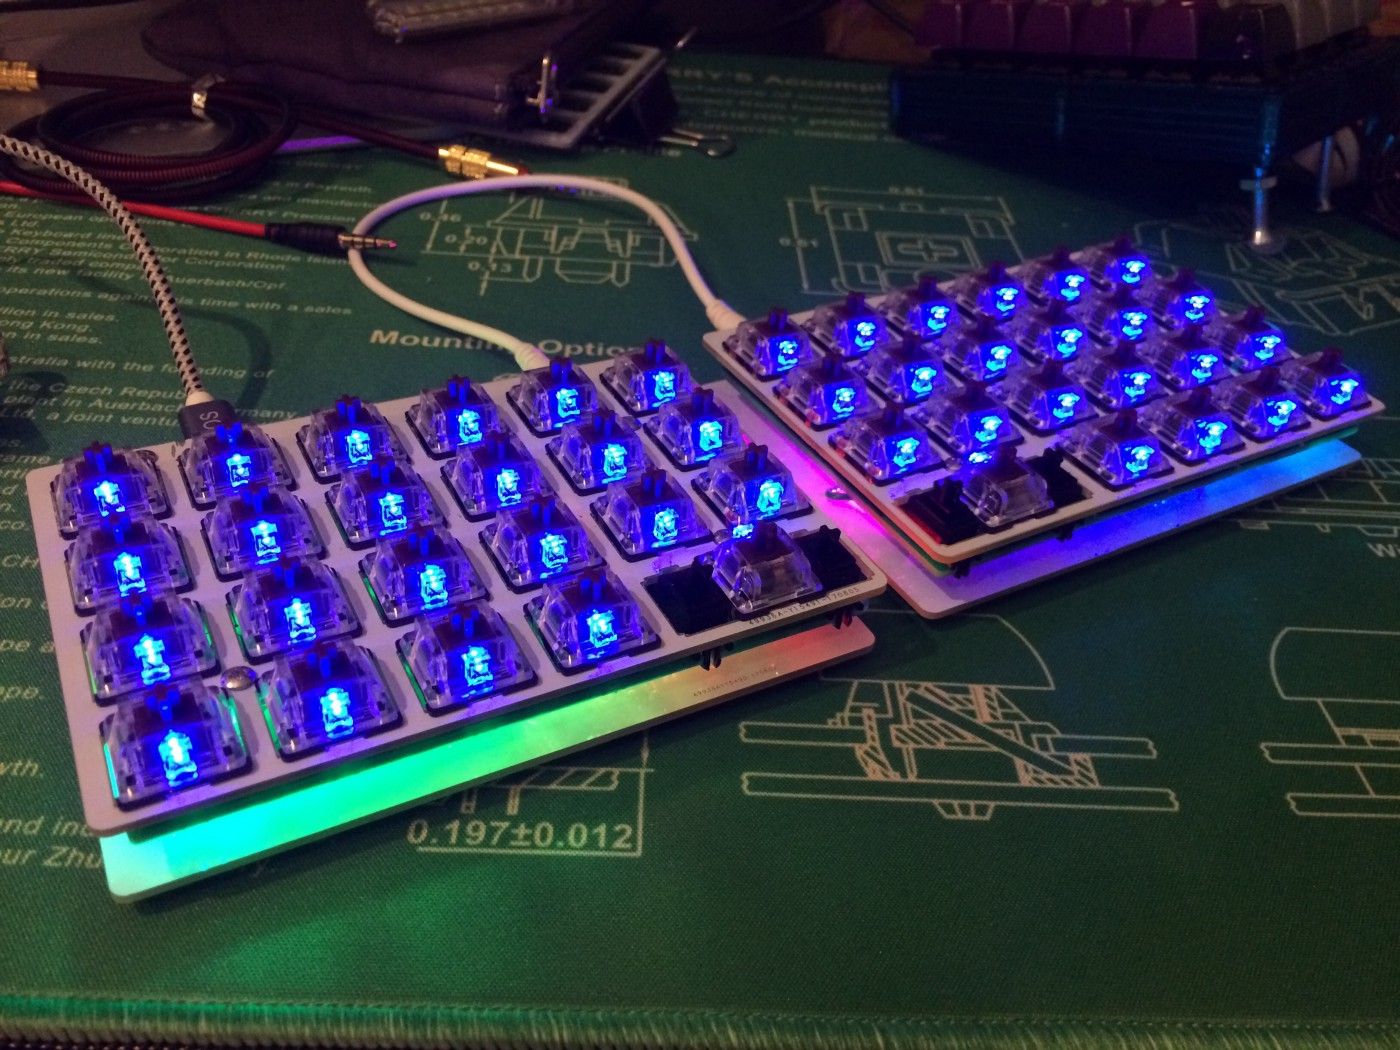
I added some switches to each half and hooray, the very first prototype was working!
Version 1.0 — Defect free!
Right after I had discovered the pinout error, I fixed it up and fired off the revised files. I also played around with KiCAD some more and figured out how to get some cool 3D models to appear.
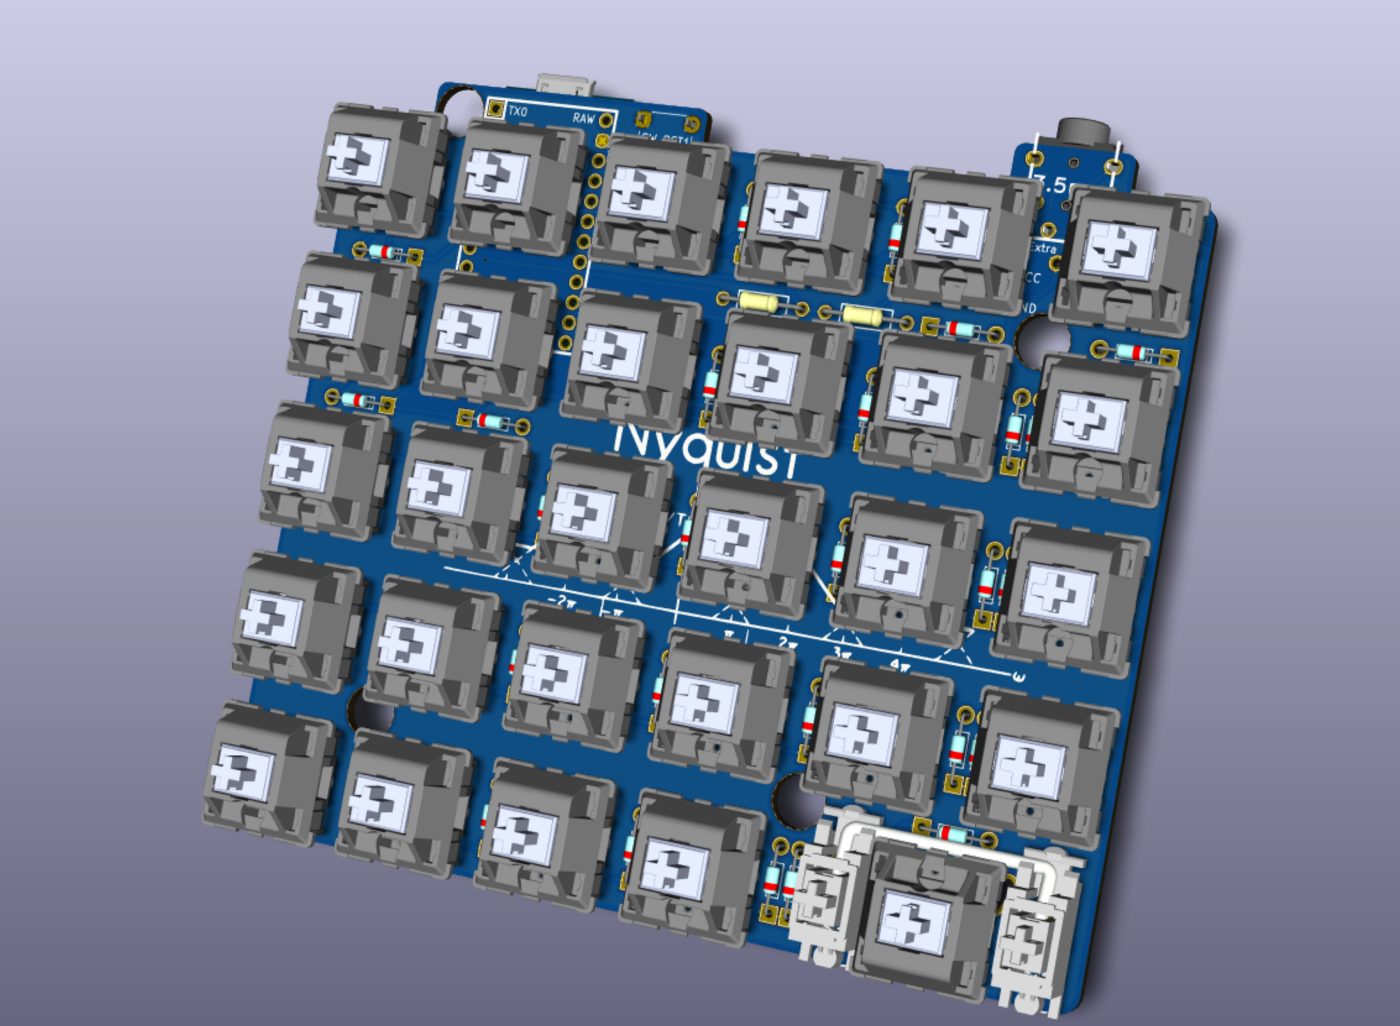
I also added Cherry PCB mount stabilizer holes for the 2u key, which I hadn’t done for the first version, as well as a reset switch, since it was getting annoying to short the reset to ground without it.
Once I got those PCBs in, I tested them out, and they were all good. But I wasn’t satisfied with leaving the design like that, as I kept on seeing more things I could improve upon to make building the Nyquist easier…
Version 1.1 —The right-angle reset button and new jumpers
I spend a fair amount of time on the /r/OLKB subreddit, trying to fix other people’s issues with building QMK, flashing Pro Micros, and debugging Let’s Split builds. One of the issues I’d see from time to time was the TRRS jumper being set incorrectly. So I set off on making the experience better and came up with this:
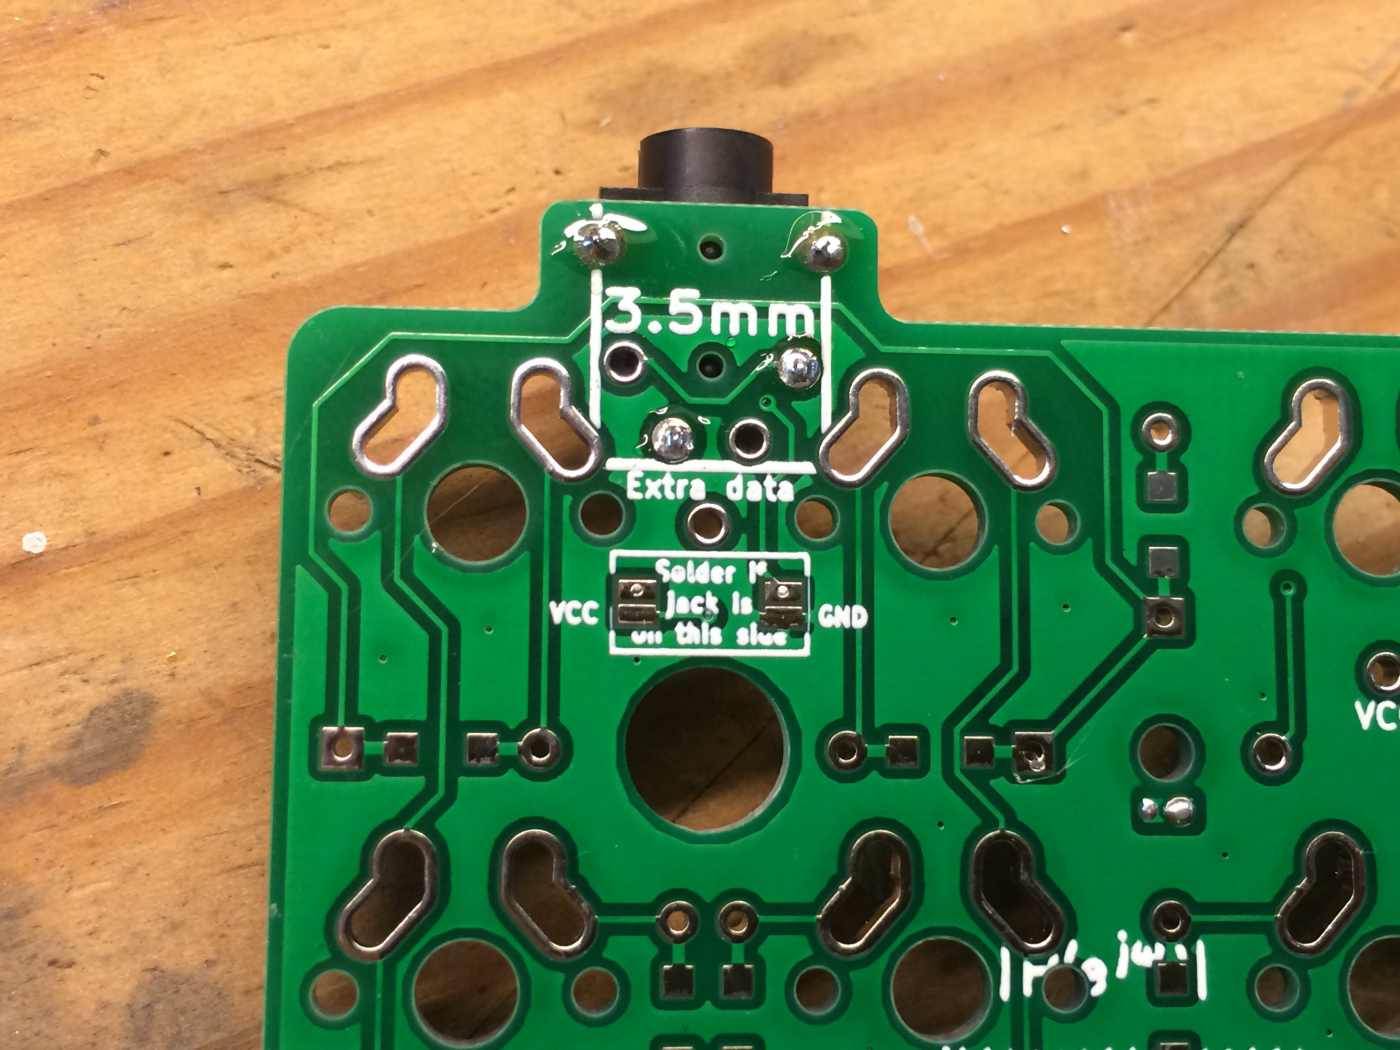
Instead of figuring out which 2 of the 3 jumpers to solder for each column of jumpers, I set it up where you solder the jumpers in the white box if the TRRS jack is mounted on that side.
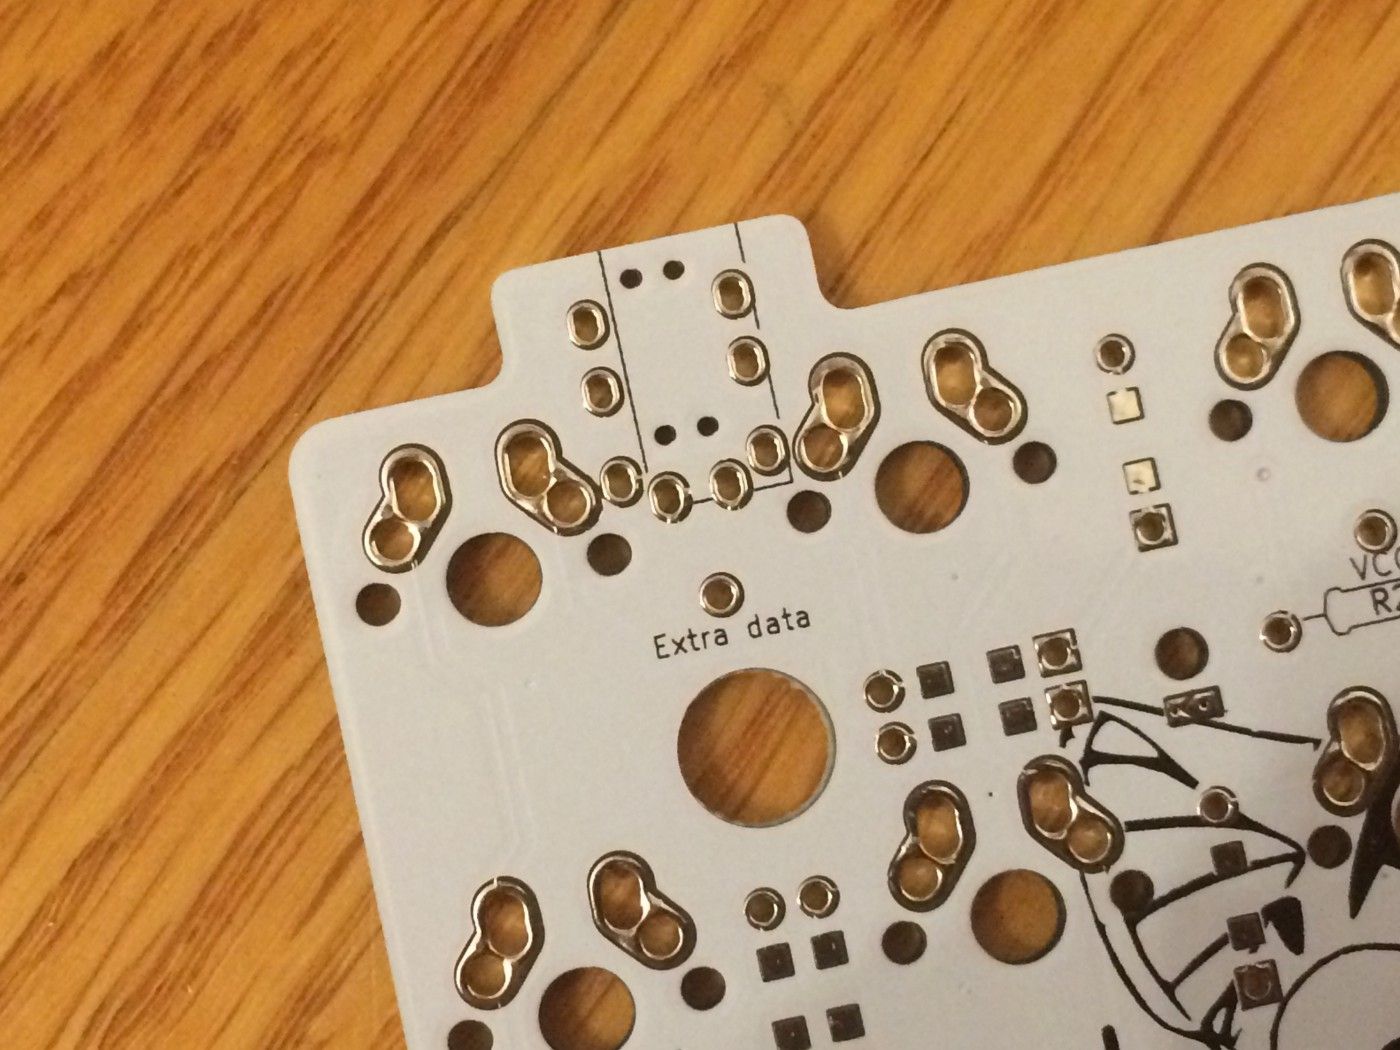
You may notice that there are SMD diodes on there, as I added support for those after someone had requested it.
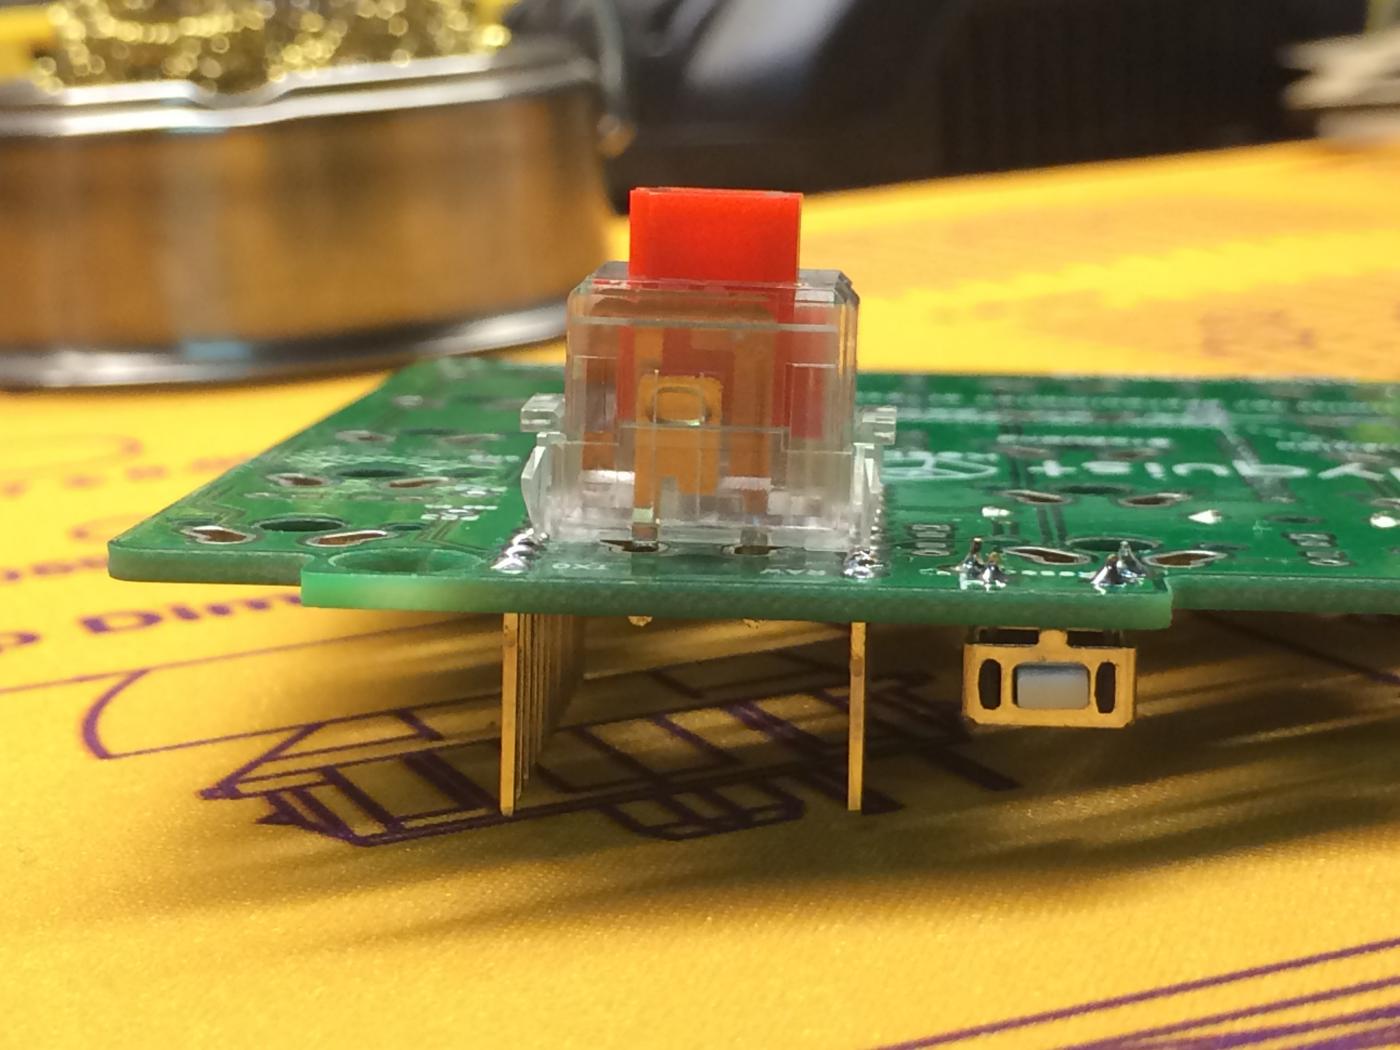
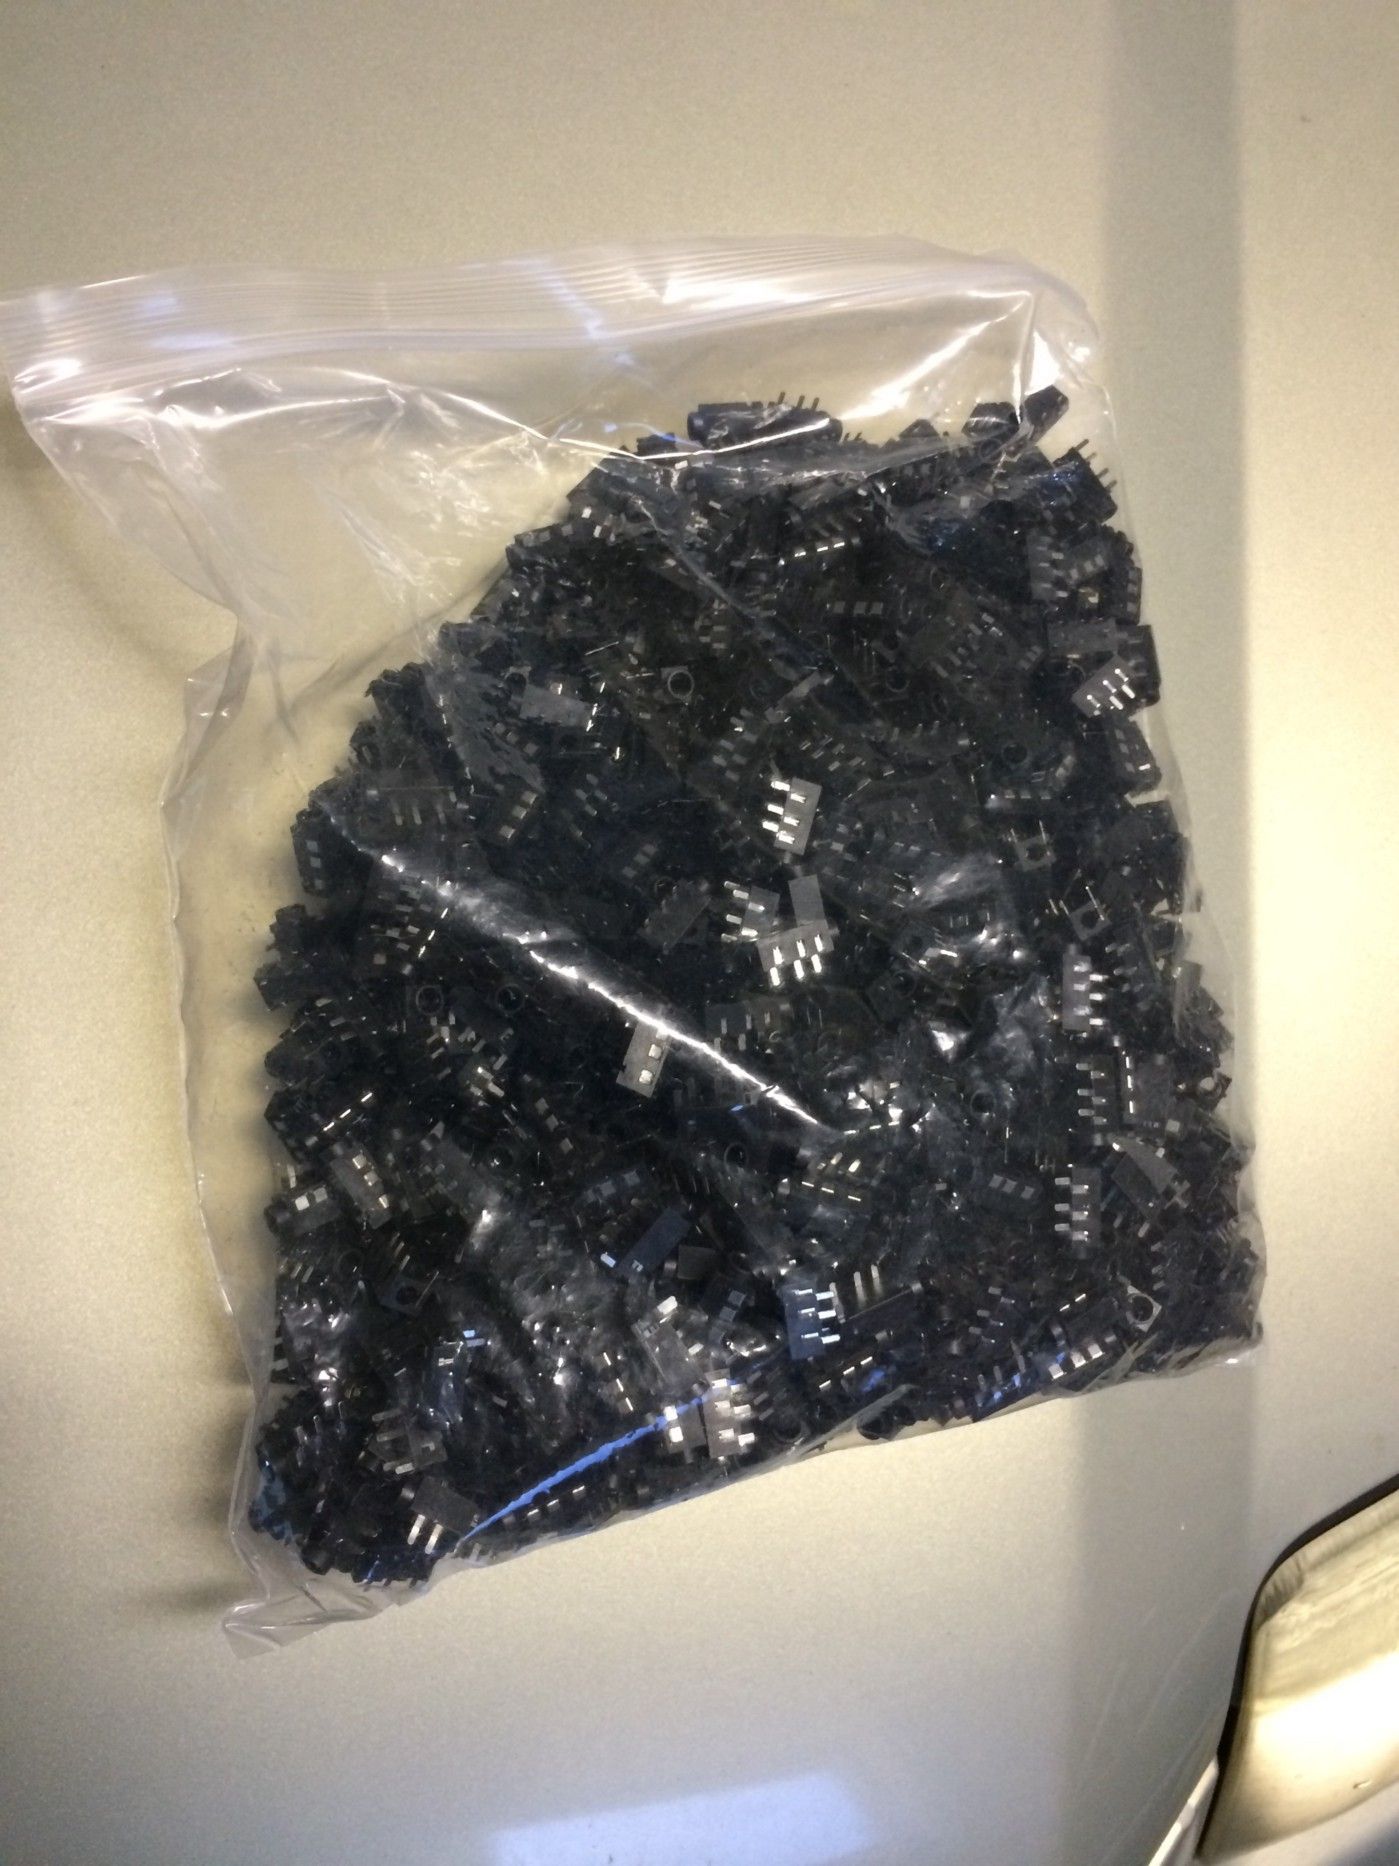
I was sourcing push button switches online when something caught my eye. Normally, I use those 6mm x 6mm tactile push buttons that are commonly seen, but while browsing around, I had found a short push button that was right-angled to the PCB. I knew right away I had to use this switch and bought a few hundred of them. After creating a PCB footprint for it, I ended up with this:
I built one side of the Nyquist after I got the batch of these PCBs in and found something else I wanted to add, so I moved on to developing Version 1.2.
Version 1.2 — Defect Strikes Back
One guy on the Mechkeys Discord wanted to build a macropad using only one side of the Nyquist, but wanted to have an additional 2u key in the other lower corner. I decided to help him out and add 2u support for that corner and after moving around a few traces, I ended up with Version 1.2 and ordered 200 PCBs.
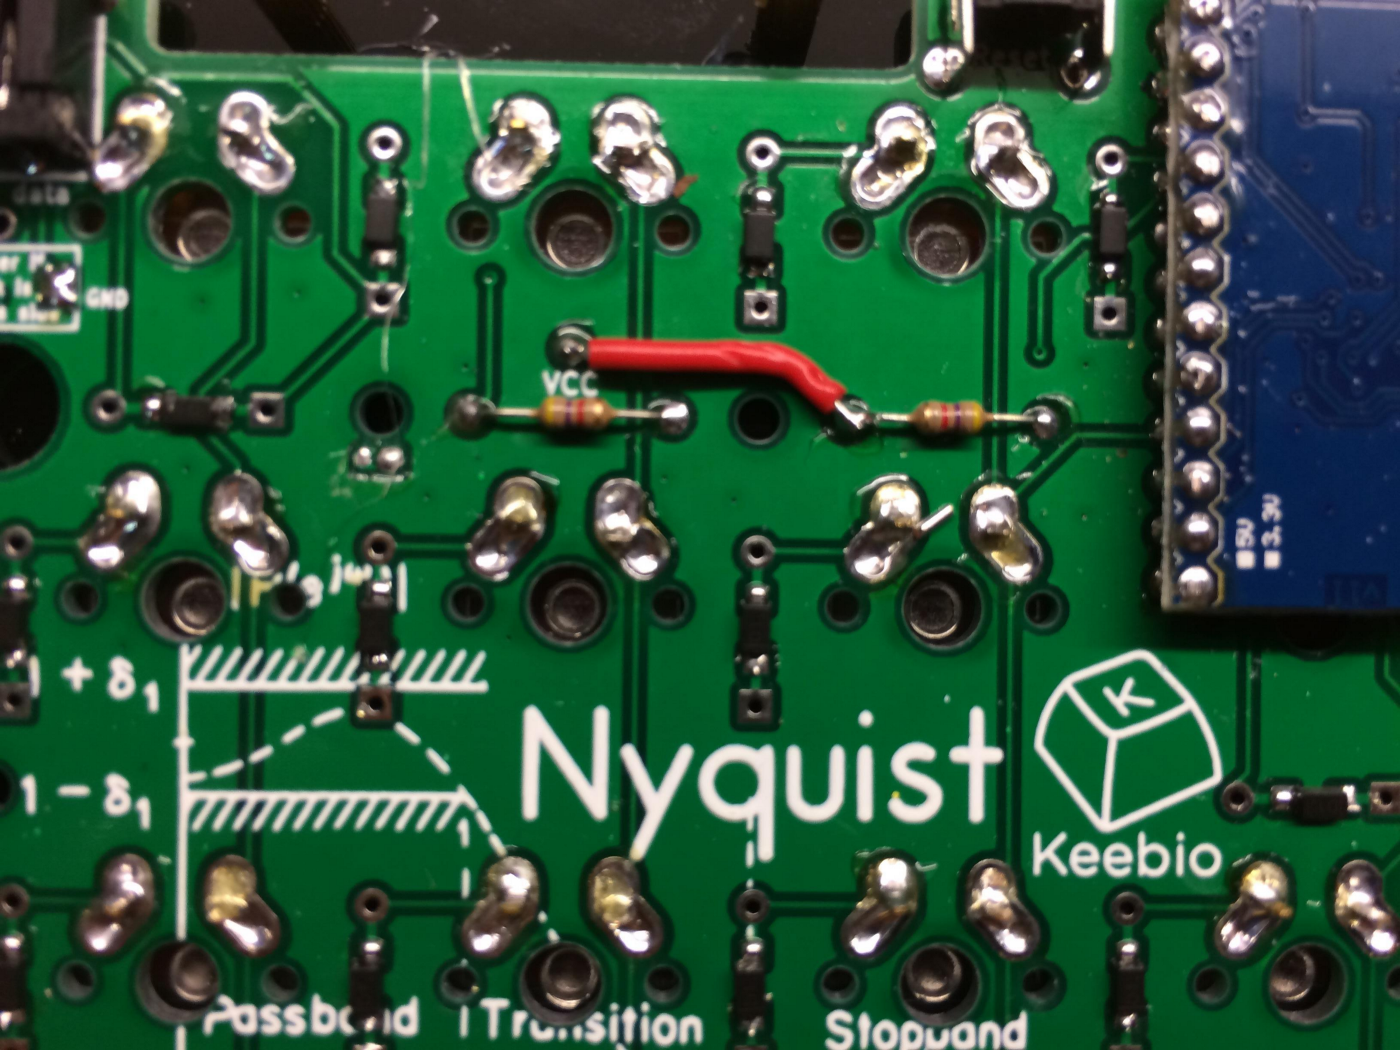
While waiting around for new PCBs, I received a custom order request and started building a Nyquist using the Version 1.1 board. But when I built both sides and connected them together, they wouldn’t talk to each other. Hmmm, strange. After all sorts of debugging and busting out the multimeter, I discovered that in the process of moving components around, I deleted a VCC trace, and that prevented the slave half from getting power.
And this issue with Version 1.1 also affected Version 1.2 that I had just ordered 200 PCBs for. Noooooo!!!!!
The patch was simple enough, and it takes me about a minute to fix a pair of boards.
I did sell a bunch of these PCBs, patching every single pair when an order came in. It was a pain, but I didn’t want anyone to have to do the job themselves.
There are still about 70 of these misfit PCBs in my garage, waiting to be sold in a Keebio Crap Sale so they can find a good home and be built.
Revision 1.3
I re-added the missing trace in KiCAD and had Revision 1.3 (I decided to change the terminology from Version to Revision at this time). Nothing too enlightening about it other than the fact that it fixed the trace. I only ordered 100 PCBs this time around just in case something else was wrong.
Revision 1.4
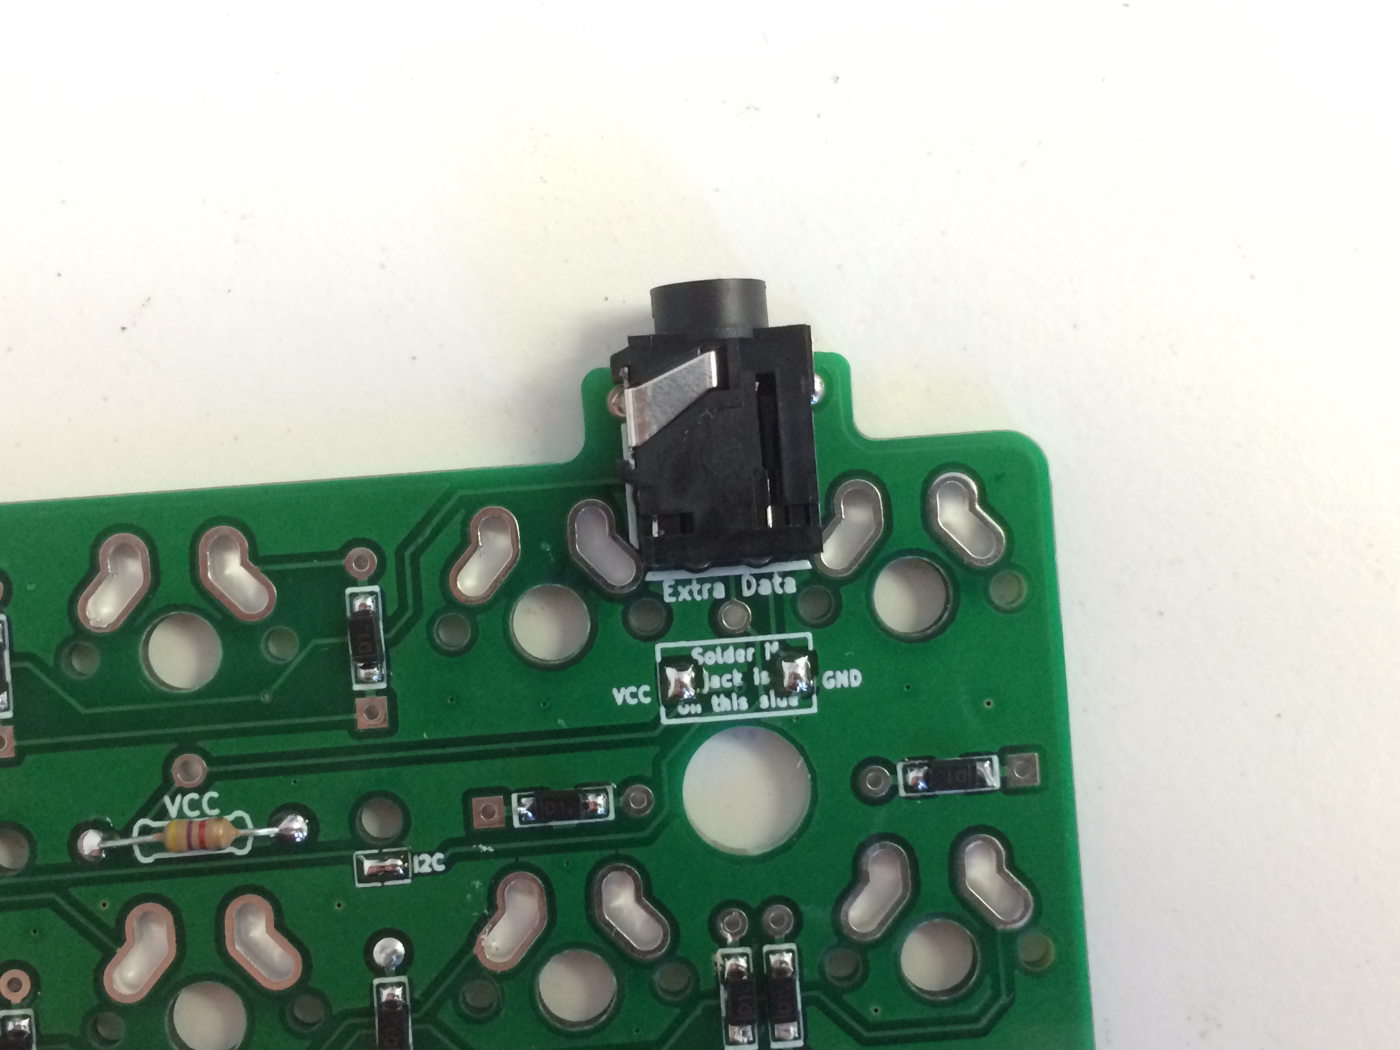
Once again, I couldn’t stop thinking of ways to improve the PCB. I was searching around for a better source of TRRS jacks when I found TRRS jacks in different form factors. I bought about 8 kinds of jacks, and after testing, I settled on the PJ-320A.
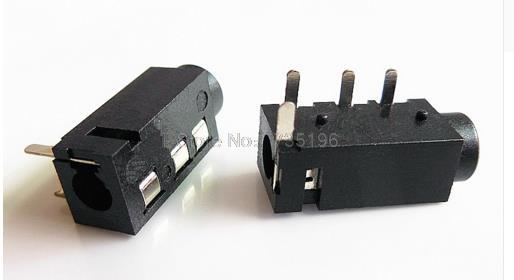
By using this jack and laying out the footprint in the right way, I was able to get rid of the TRRS jumpers! One less variable in the mix for building the board.
After testing, there’s no problems with this PCB. Woohoo!! Time to get a bunch of these made.
For now, I’m done with this version of the Nyquist. But as always, the work never ends, I’ve got plans to rollout LED backlight support in Revision 2.0, now that I’ve done it for the Iris and Levinson.
It doesn’t mean that my troubles with PCB design have ended though, they’ve just begun. Follow along as I talk about the issues I ran into with the Iris, Levinson, and Viterbi in my upcoming post!


Member discussion